


A Beginner’s Guide of Mastering the Basics of Pottery Color Mixing
Pottery is about more than shaping clay, it is a medium of free expression where creators can play around with textures, patterns and of course colors. With blending colors, beginners can learn this from the very beginner stage without hand glued professional art pieces. In this guide you will get acquainted with the techniques and tips on how to blend colors in pottery for perfect masterpieces!


Understanding Why Blending Colors is Key in Pottery
Mixing colours in pottery not just adds pop to the overall appearance of your pieces, but go a long way in portraying feelings and styles. Whether you want subtle gradients or striking contrasts, the way you combine colors tells a story. Beginners need the knowledge to avoid the most common pitfalls and get the results they want.
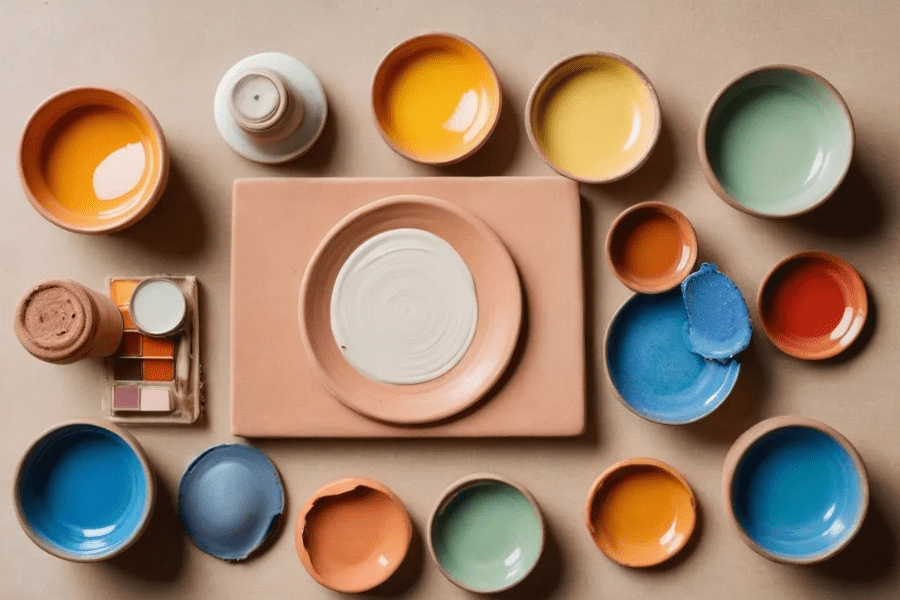
Start Here: Equipment and Supplies
Before you jump into the techniques listed below, make sure you have the right tools and materials. Here’s a list to get started:
Clay body: Select a clay body compatible with the glazes you intend to use.
Underglazes and glazes: These are the main media for adding color.
Brushes and sponges: To apply and blend colors.
Pottery wheel or hand-building tools: Based on the way you want to do pottery.
Palette: Put colors together to see what happens, before putting them on your piece.

How to Blend Colors
Layering Colors
A layer is a color applied over one another. Here’s how:
Spray a base color evenly across the pottery surface.
When this dries, use a brush or sponge to layer a second color.
Mix the lines where the two colors come together to ensure a smooth gradient.
Sponging
This is a simple technique that will provide you a textural, organic look: Sponging
Soak a sponge in the chosen color.
Touch the sponge gently to the clay surface, layering it on thicker for an intensity increase.
Lightly Medium such that colors overlap.
Gradient Blending
Gradients make your pottery look professional:
At one end of the piece, use a soft brush to apply the first color.
The one with the first color on one end and the opposite on the other.
With gentle, sweeping motions, blend the two colors at the point they meet.


Tips for Beginners
You Can Do It: The little test tiles prove blending is a thing; a wall or a large chunk of your kitchen is just putting too much pressure on yourself.
Exercise 7: Color mixing
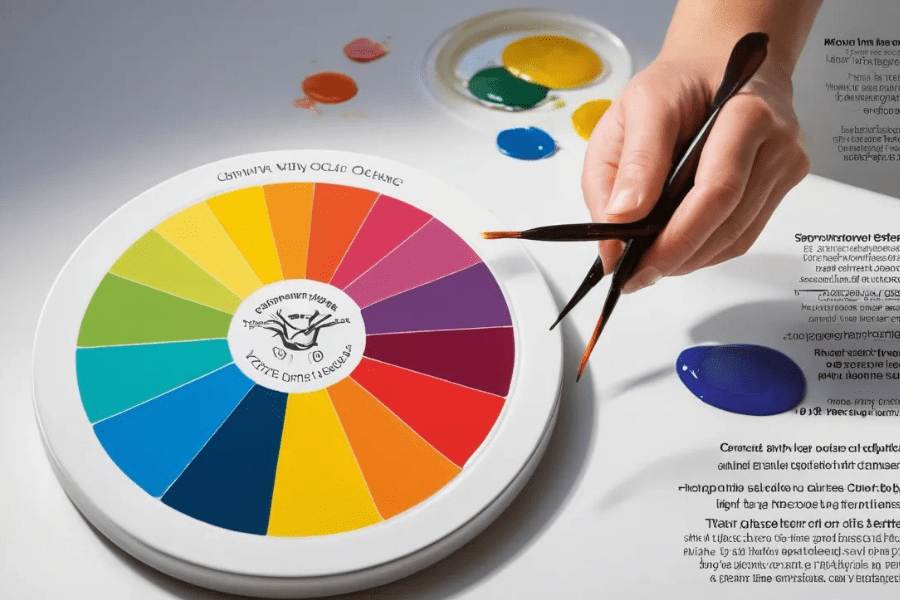
Step 2: Understand Color Theory: To learn more about Color Theory and find the good about complementary and analogous colors to receive harmonious designs.
Thin Layers: Use thin layers of glaze for ease and for better blending.
Firing Colors: Glazes and colors can change when you fire them, so you may want to test your glazes on clay bodies similar to those you plan to use before sticking everything in your kiln.

Common Mistakes to Avoid
Overmixing: It’s important not to over blended as it can create muddy colors. Balance blending with clear colors.
There are, of course, pitfalls to avoid such as: Always test colors and blending techniques before using them on finished pieces.
Skipping Drying Times: Each layer of paint should properly dry before the next is applied; the wetter the paint, the more prone to smudging.
Trends: Most Popular Colors/Ombres
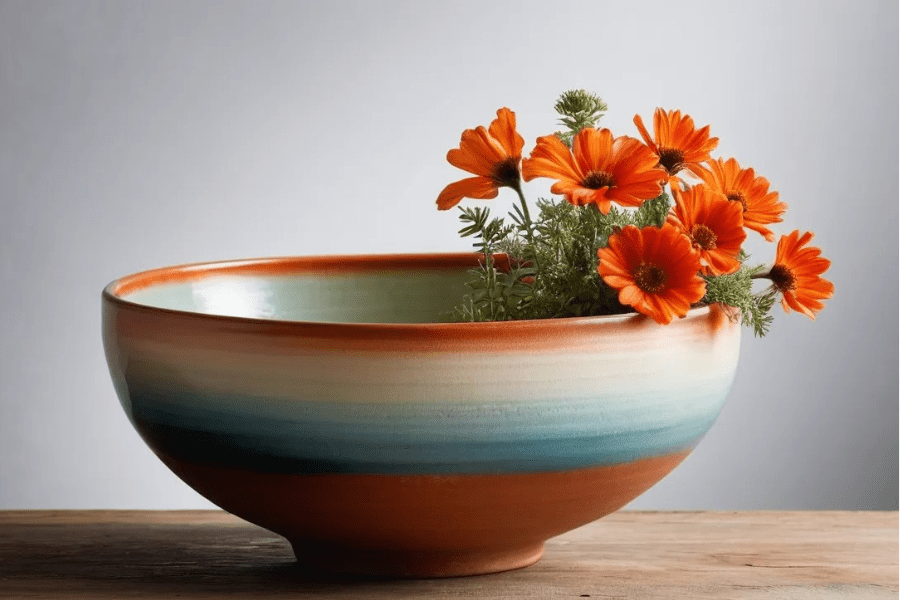
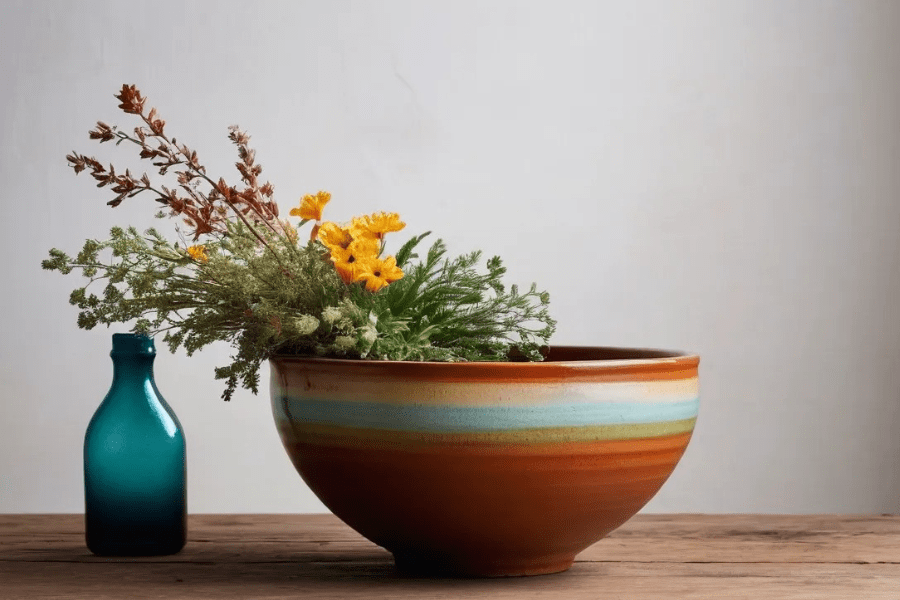
Earthy Tones
For a rustic, natural look, mix browns, greens and terracotta’s.
Oceanic Gradients
Mix blues and greens for a calming, water-like effect.
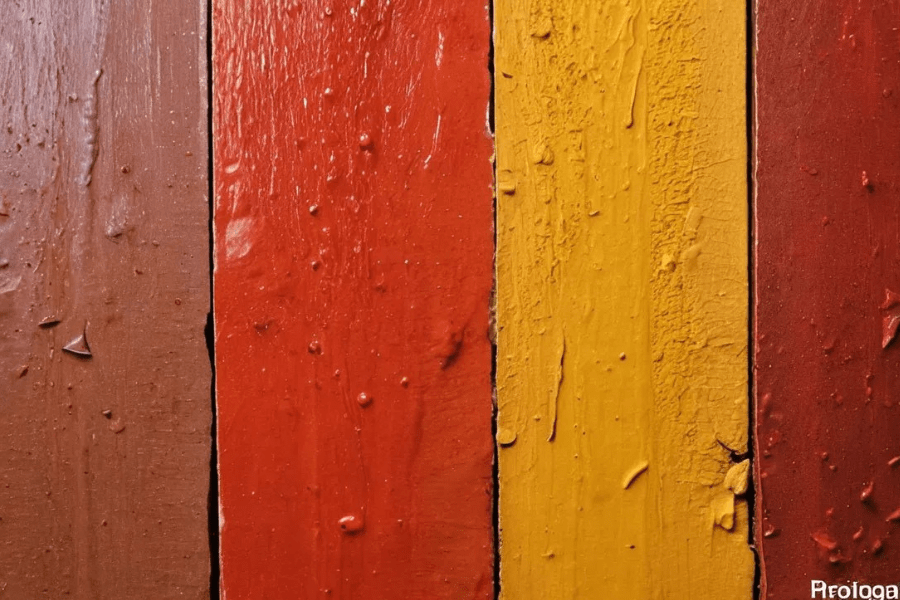
Bold Contrasts
For drama, go for bold mixes – black and white, red and yellow.

Conclusion
Pottery is an art, but blending colors is both an art and a science. This guide will help you learn the key techniques so that you start composing amazing visuals, and with your techniques, the possibilities are truly endless!
Want to get MORE serious about pottery? Check out our favorite resources to get you started, and more tools and glazes you can use to get inspired for a trip of a lifetime! Happy potting
Shop Now
**Stay updated with our latest creations and special offers by following us on our social media pages!**