

10 Simple Steps to Achieve the Professional Mix of Clay Colors
Introduction
What if you would have all colors merged as easily as mixing dough or mounding clay into different colors and shades? Whether you are a hobbyist or a seasoned artist, learning how to mix clay colors can be a totally new layer to explore in your creative practice. We will discuss 10 steps to mixing clay colours like a pro. You’ll explore vital techniques, tools, and a few secret tricks to give your colors personality.
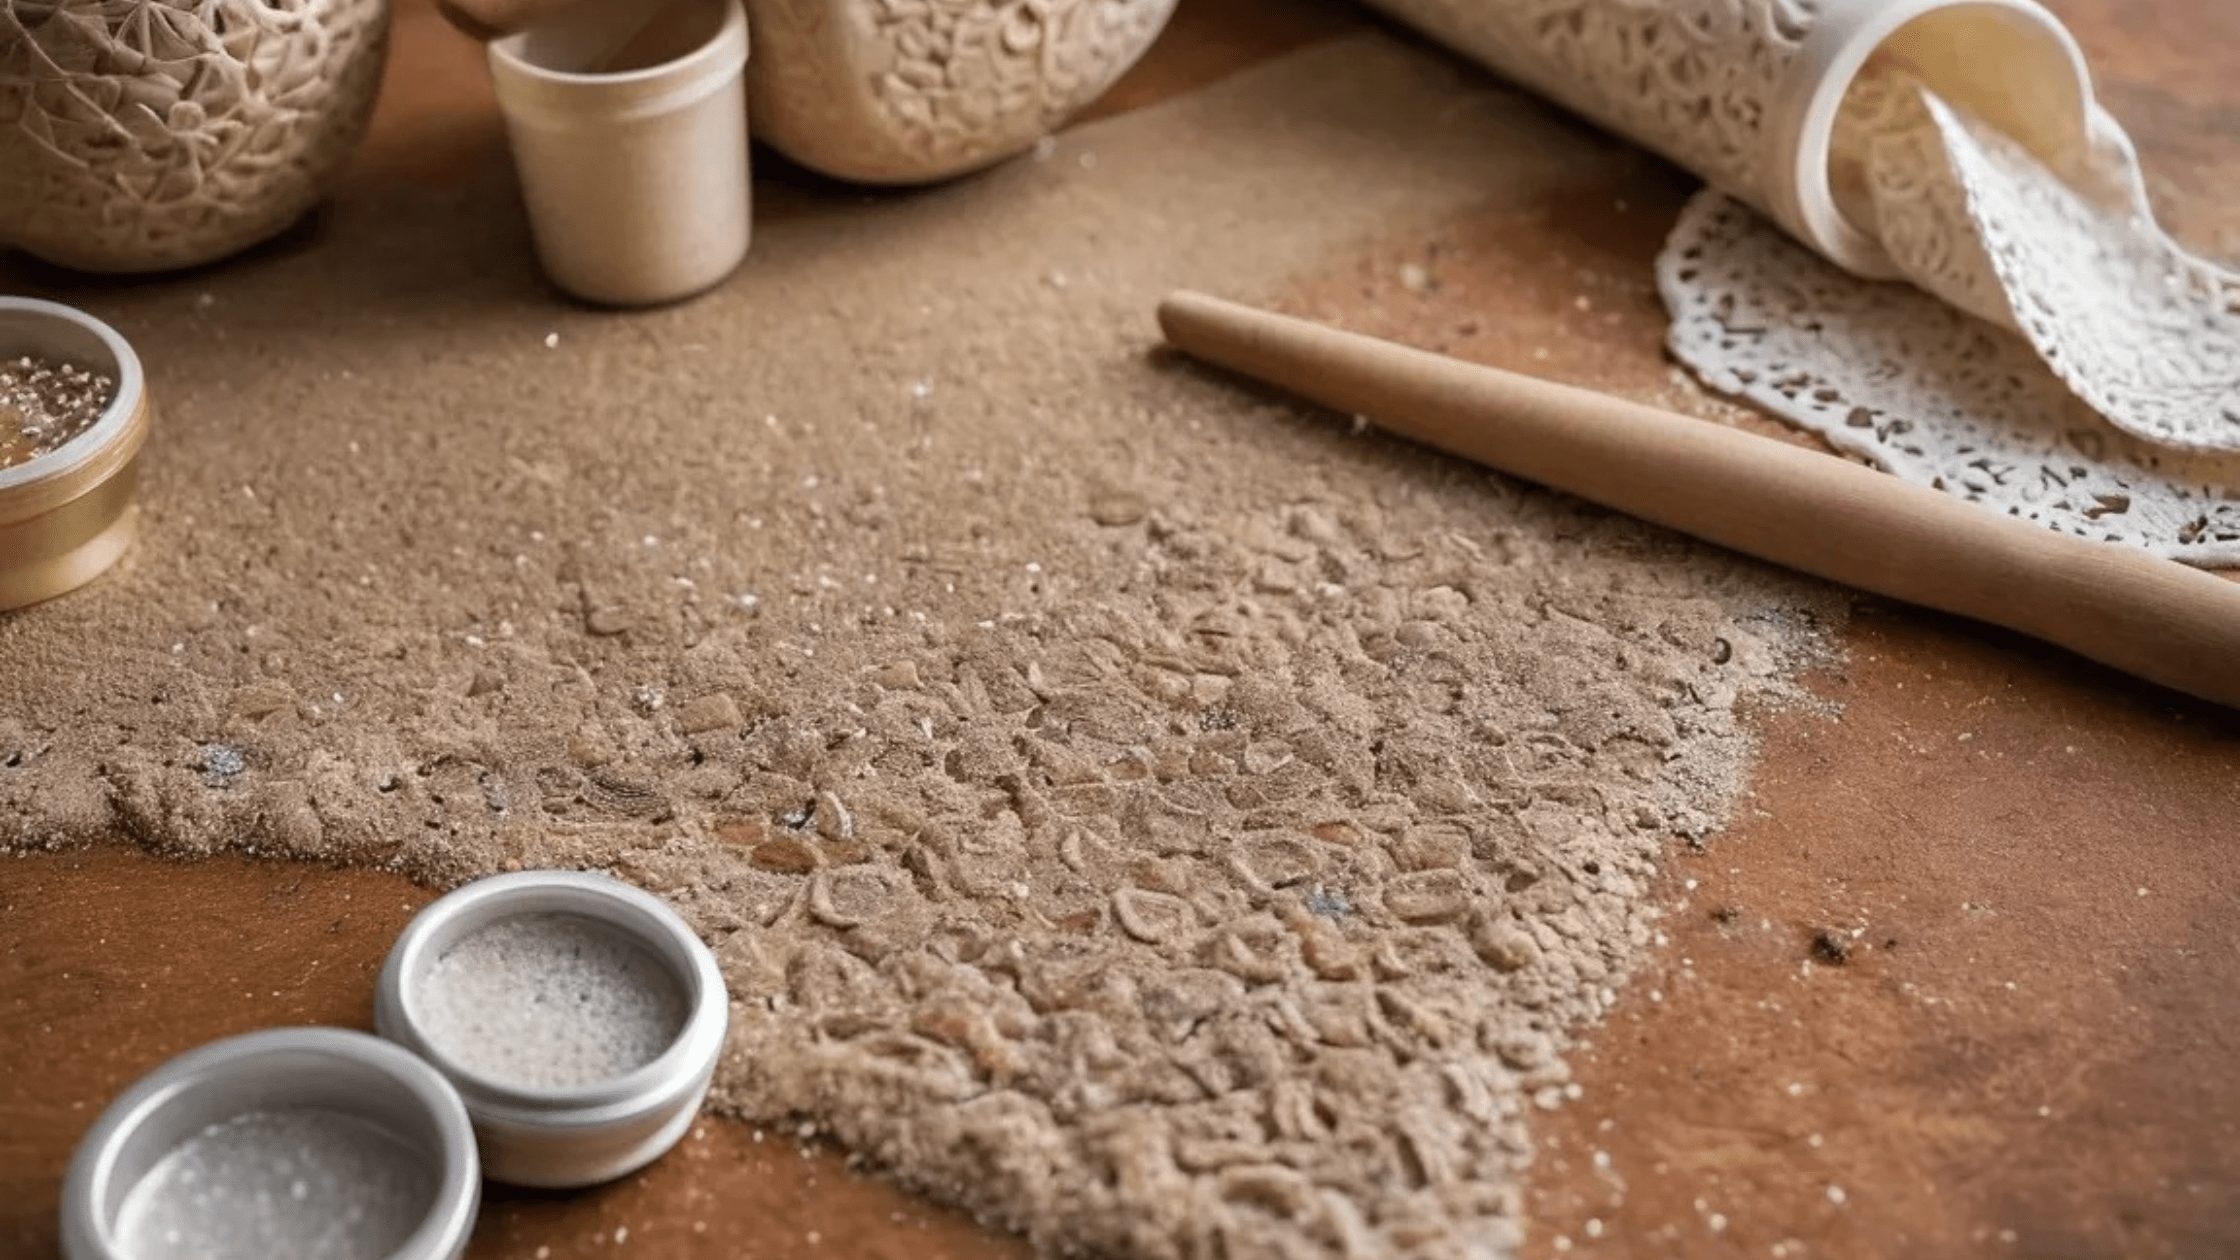
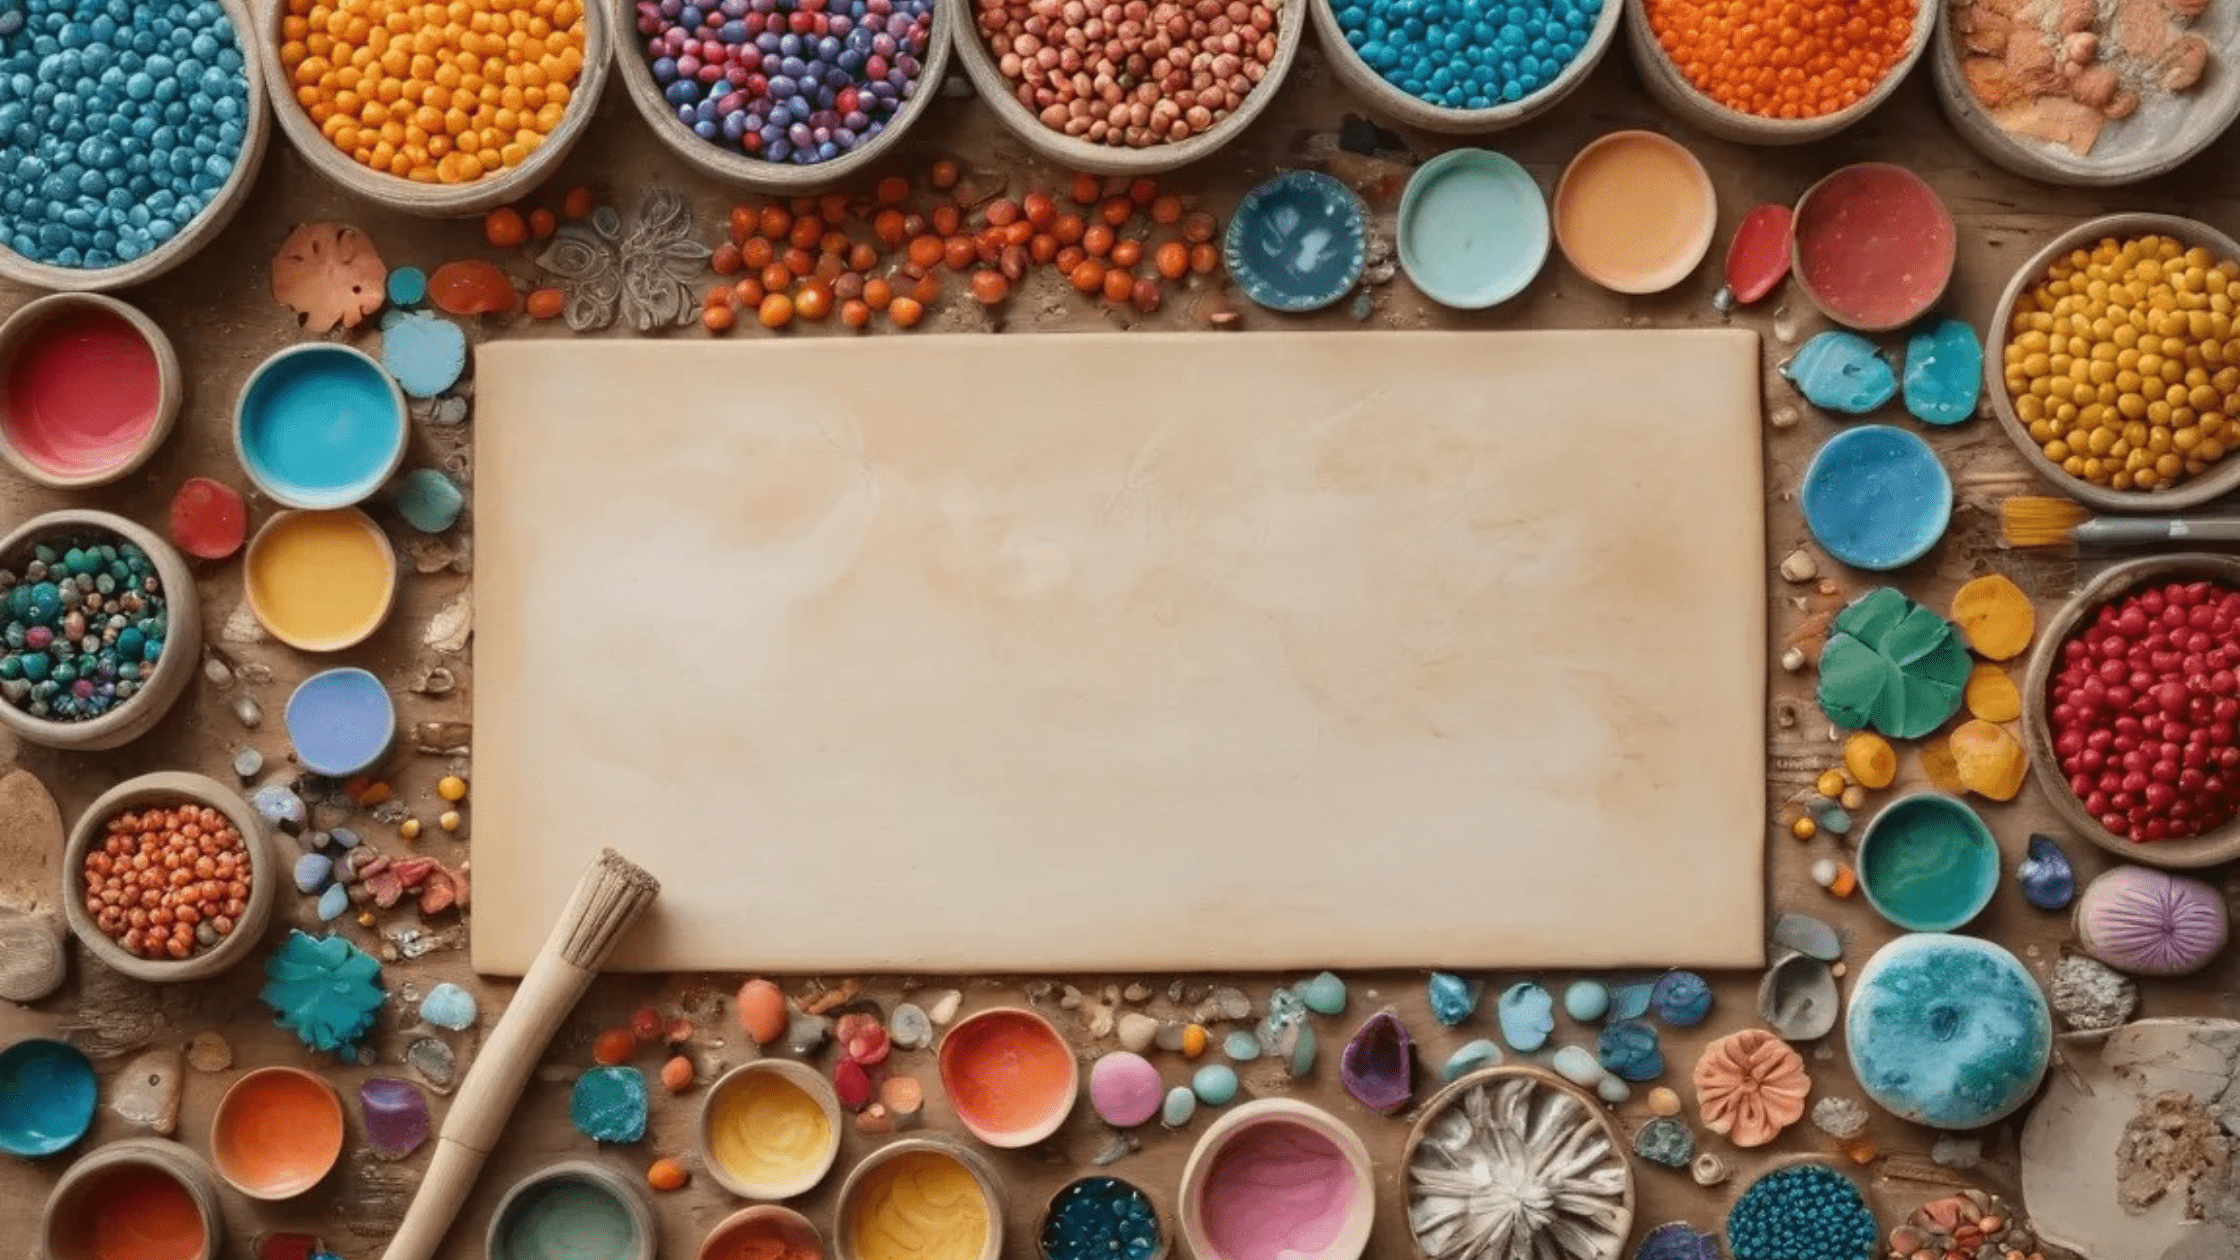
1. Gather Your Clay and Tools
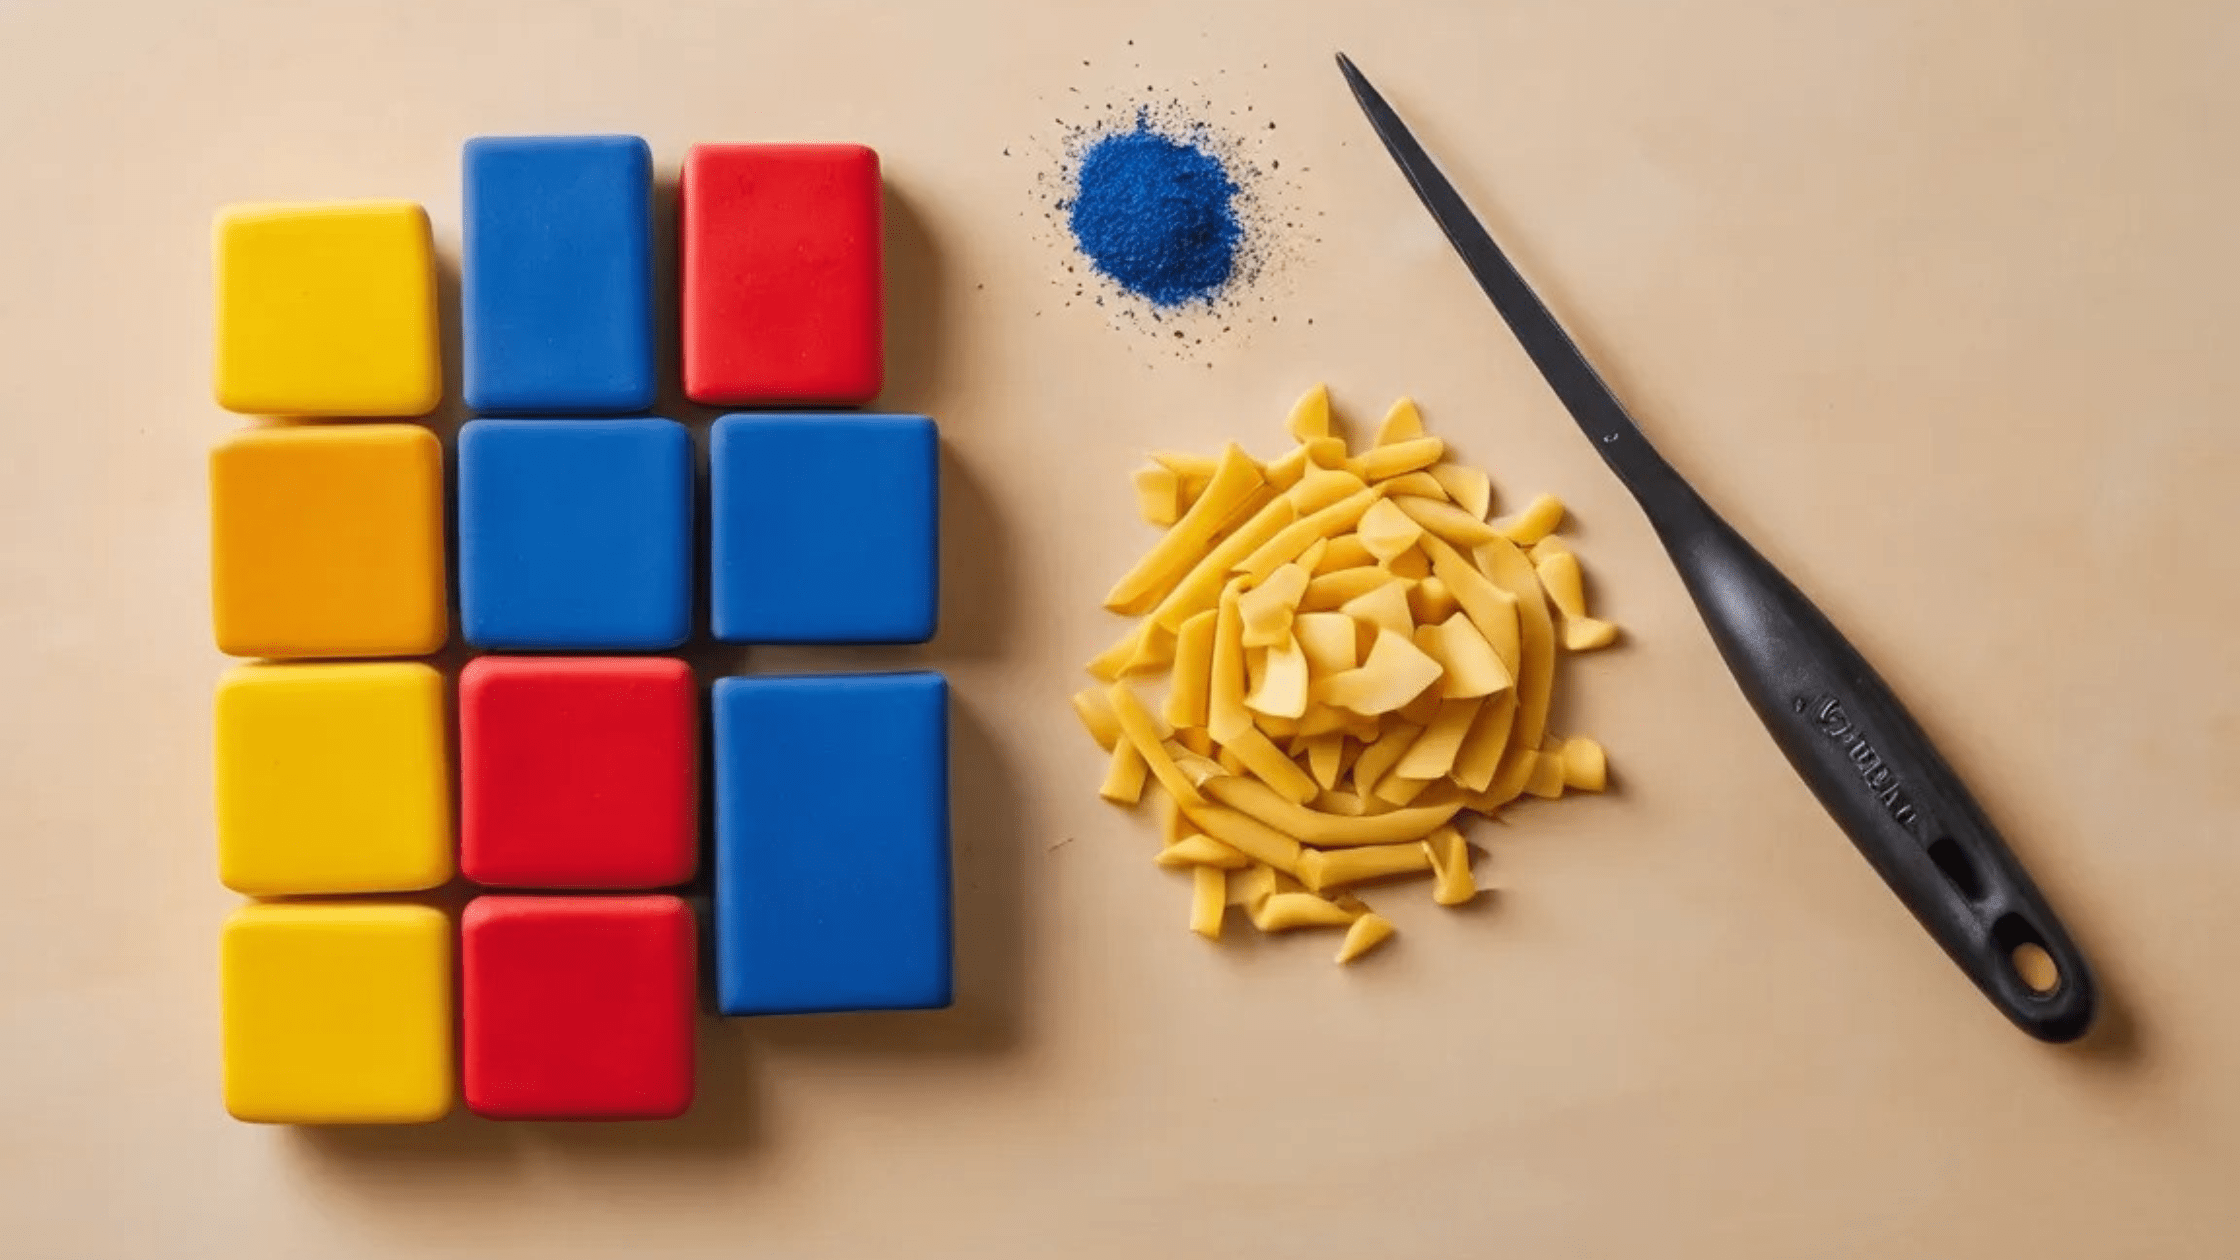
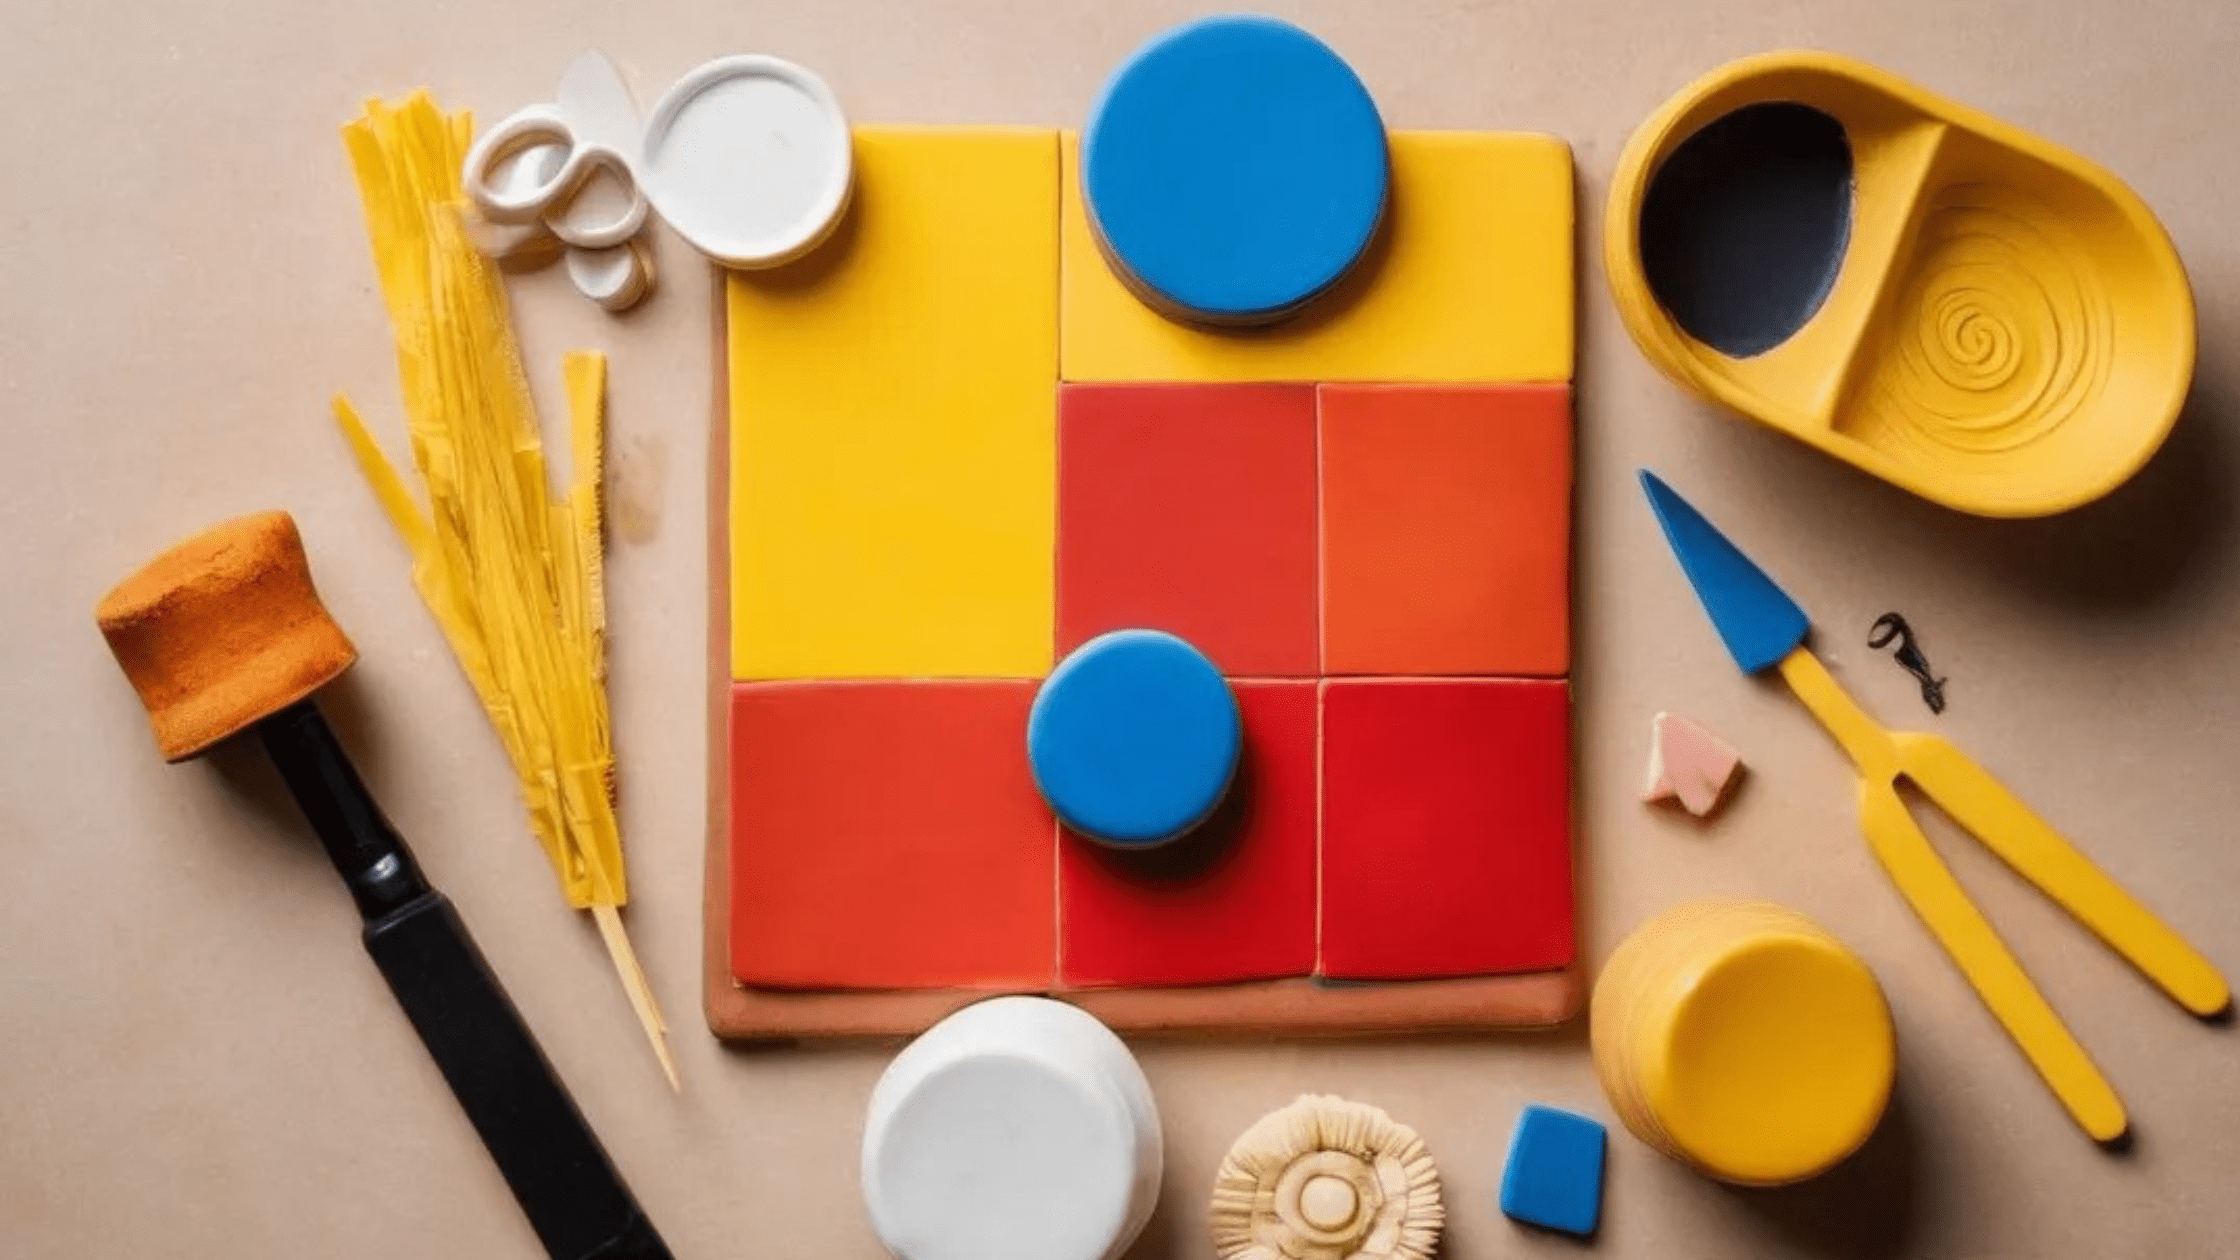
Collect the required materials before starting the project. The time spent on preparation is crucial, so make sure you have everything you need before you start mixing:
- Natural Pugged Clay: A good starting set of colors includes red, blue, yellow (primary colors), and possibly black and white (to mix different shades and tints).
- Cutting Tools: The blade or cutter you have on hand to cut through clay.
- A Clean Surface: Create a designated, non-porous work area to avoid any accidental color mixing from previous designs.
*“Having your tools at the ready is half the battle outside of creating art. *
Choosing the Right Clay
There are many clays to choose from, each with different properties, so pick one that will work for your final project — polymer clay for small sculptures or earthen clay for pottery. When mixing brands or types, check manufacturer guidelines to double check compatibility.
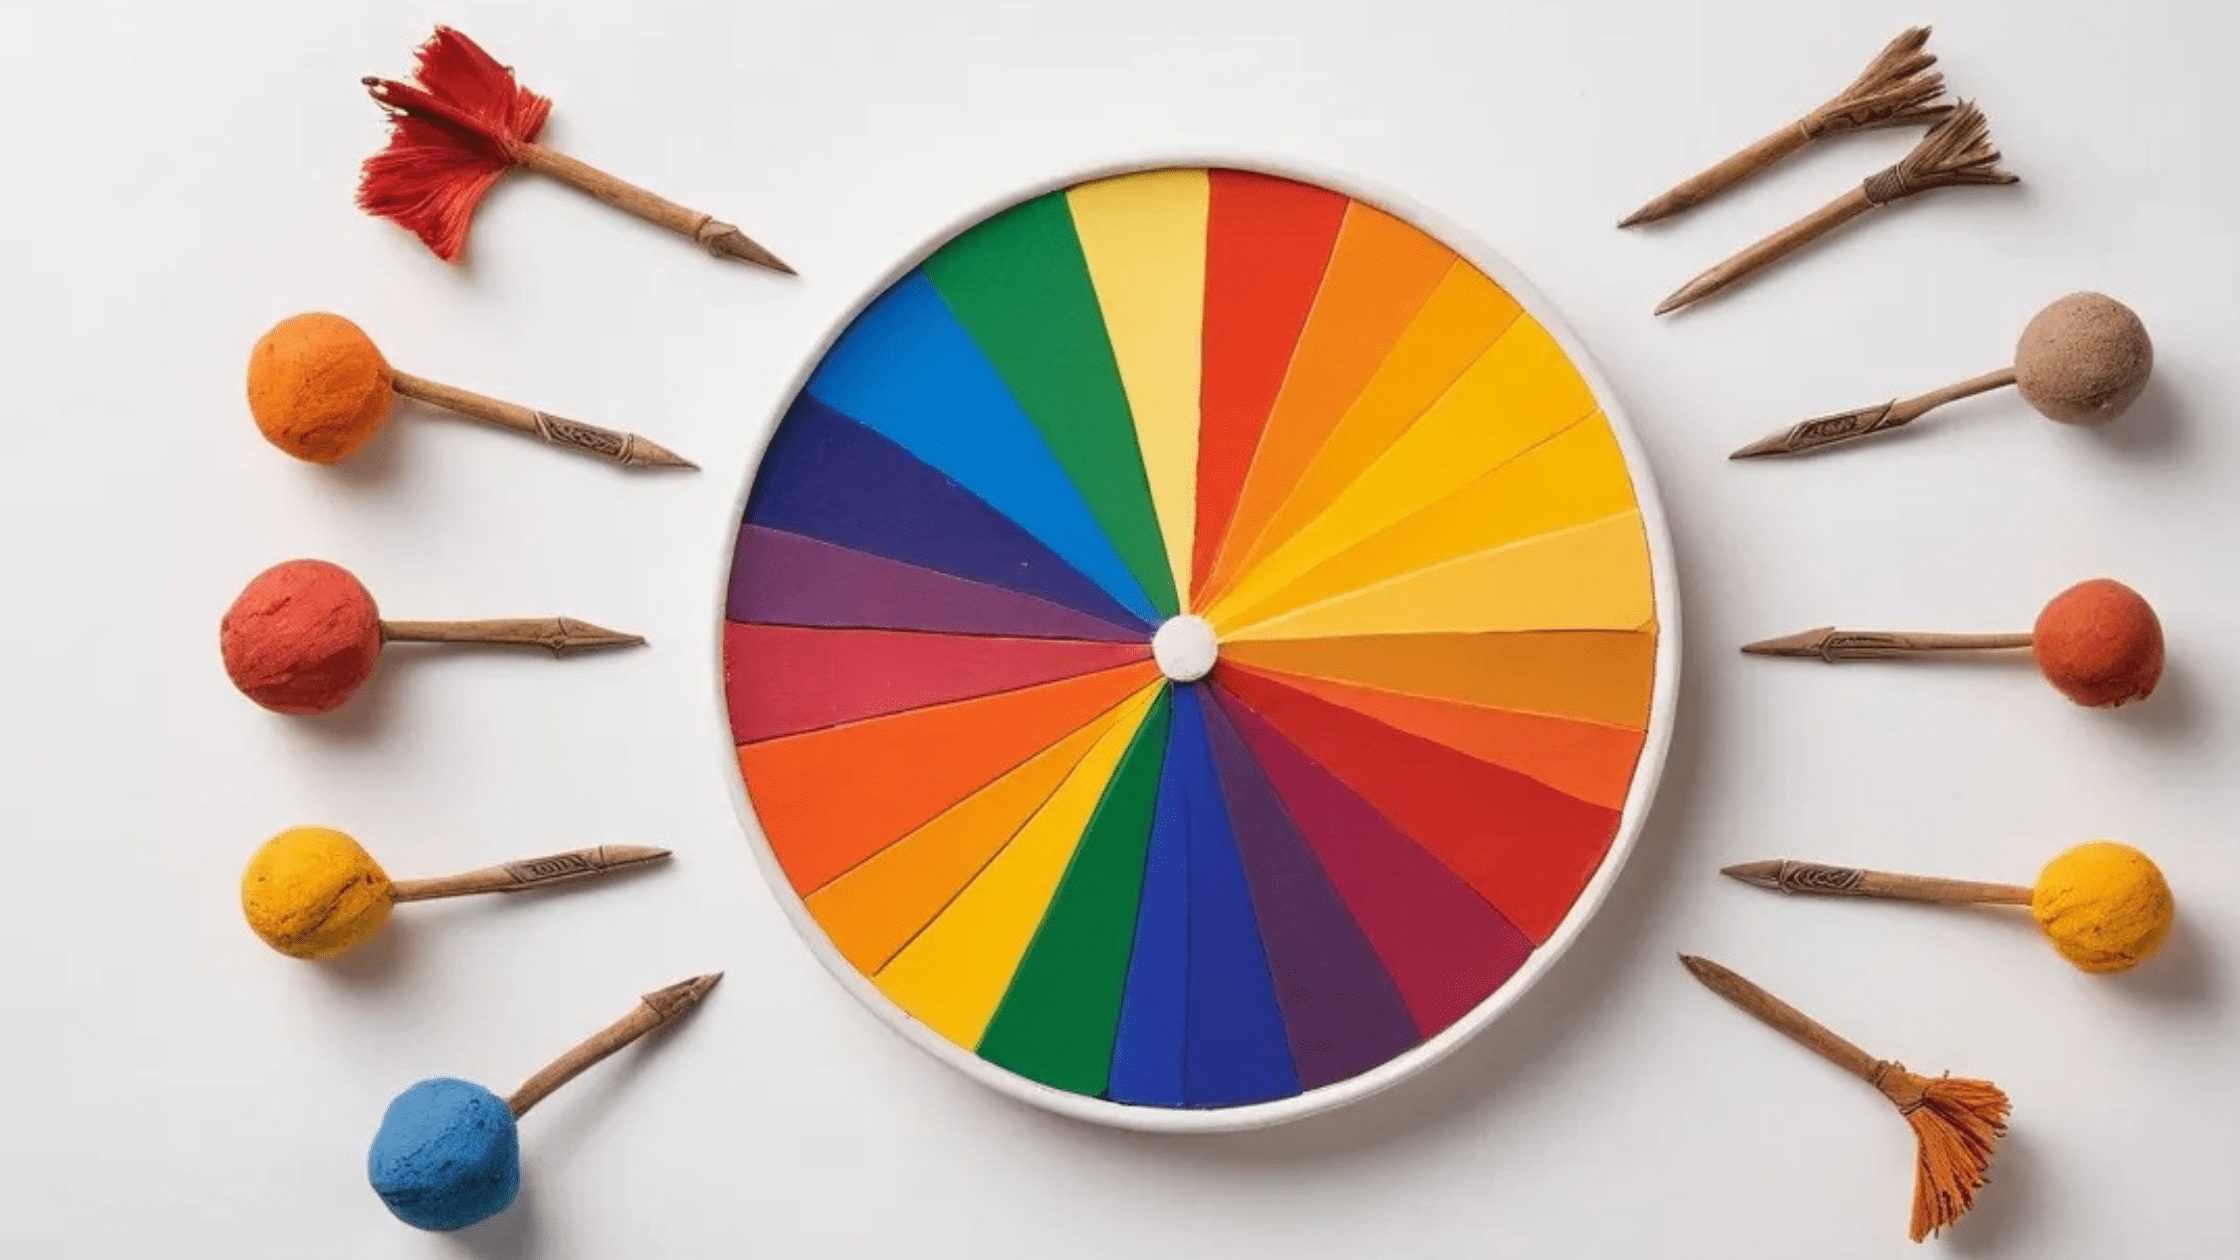
2. Understand Basic Color Theory
It is very important that you learn a little about color theory before you start mixing! Knowing this can help you to arrive at the results you desire:
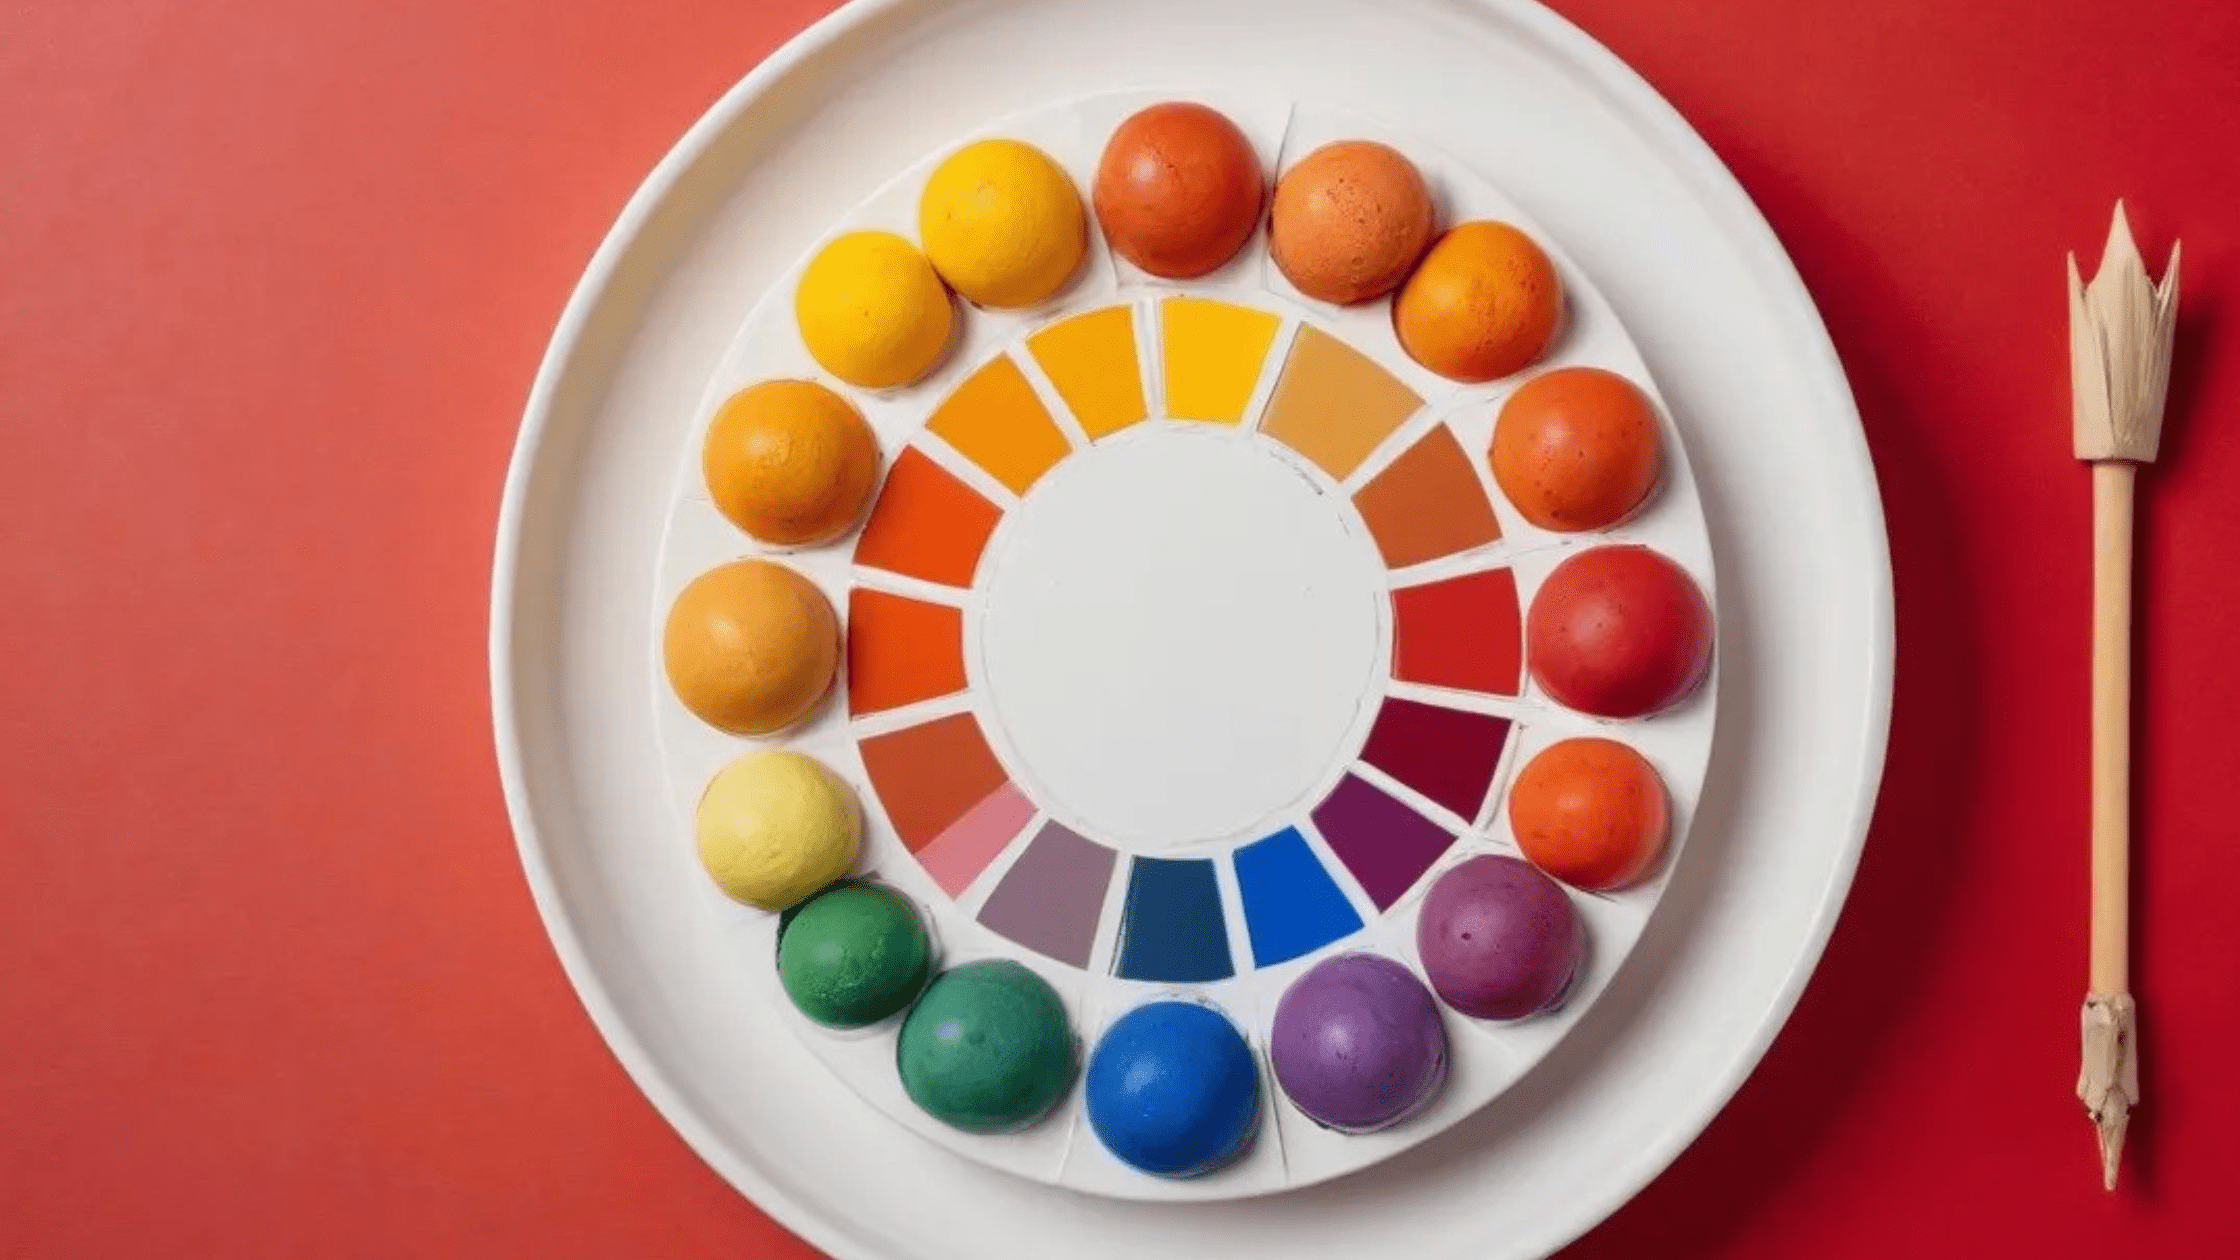
- Primary Colors: Red, blue, yellow.
- Secondary Colors: Mix two primaries; purple (red + blue), green (blue + yellow) and orange (red + yellow).
- Tertiary Colors: Combine a primary color with a secondary color.
Express to yourself your process of learning colors using online color wheels available.
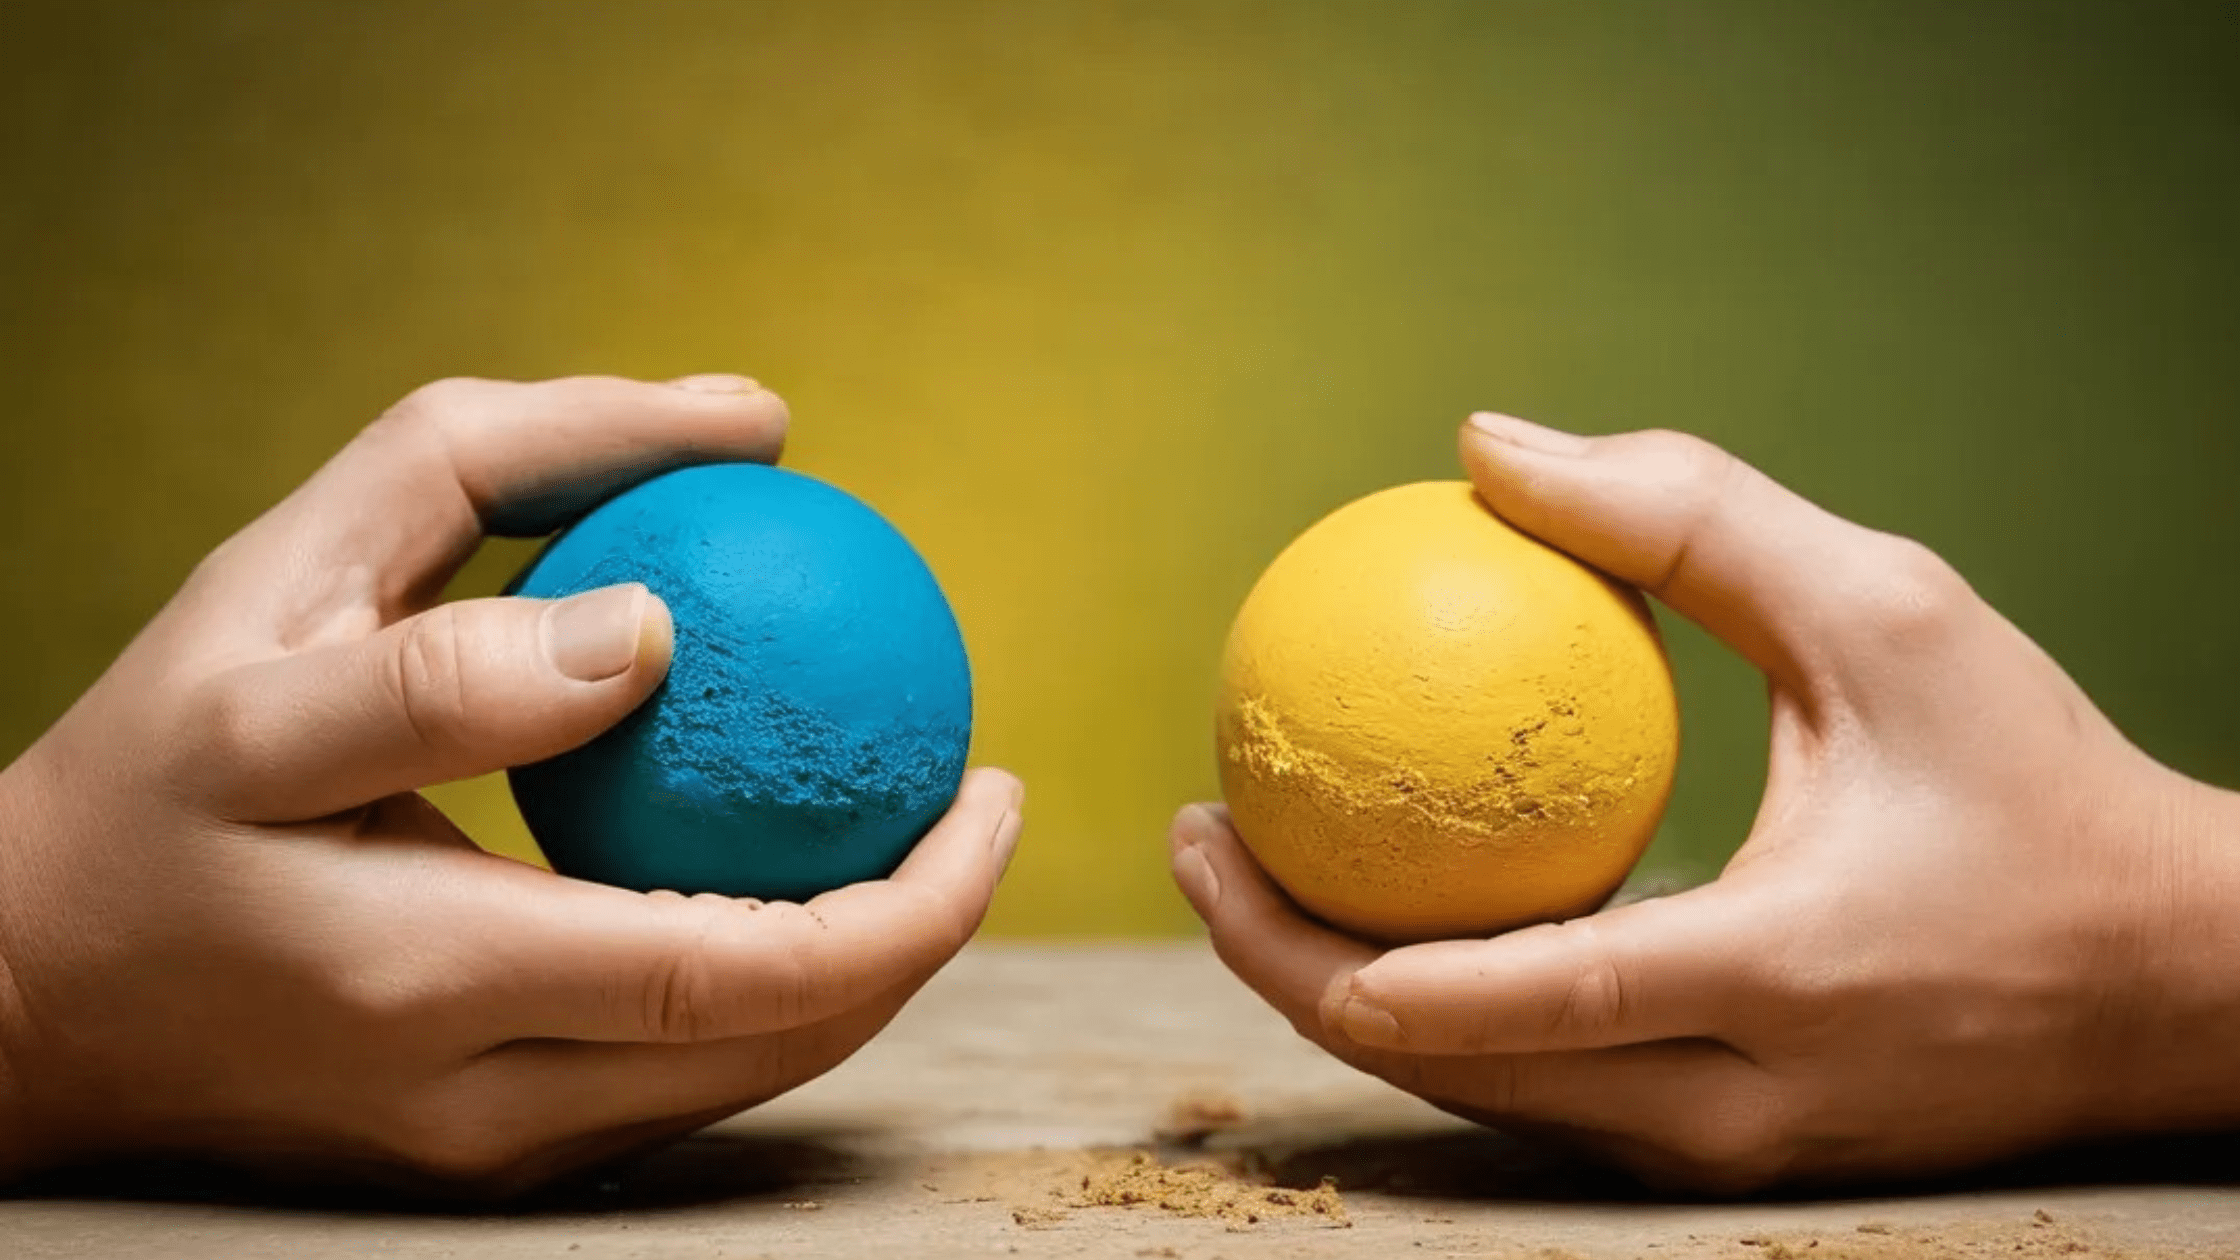
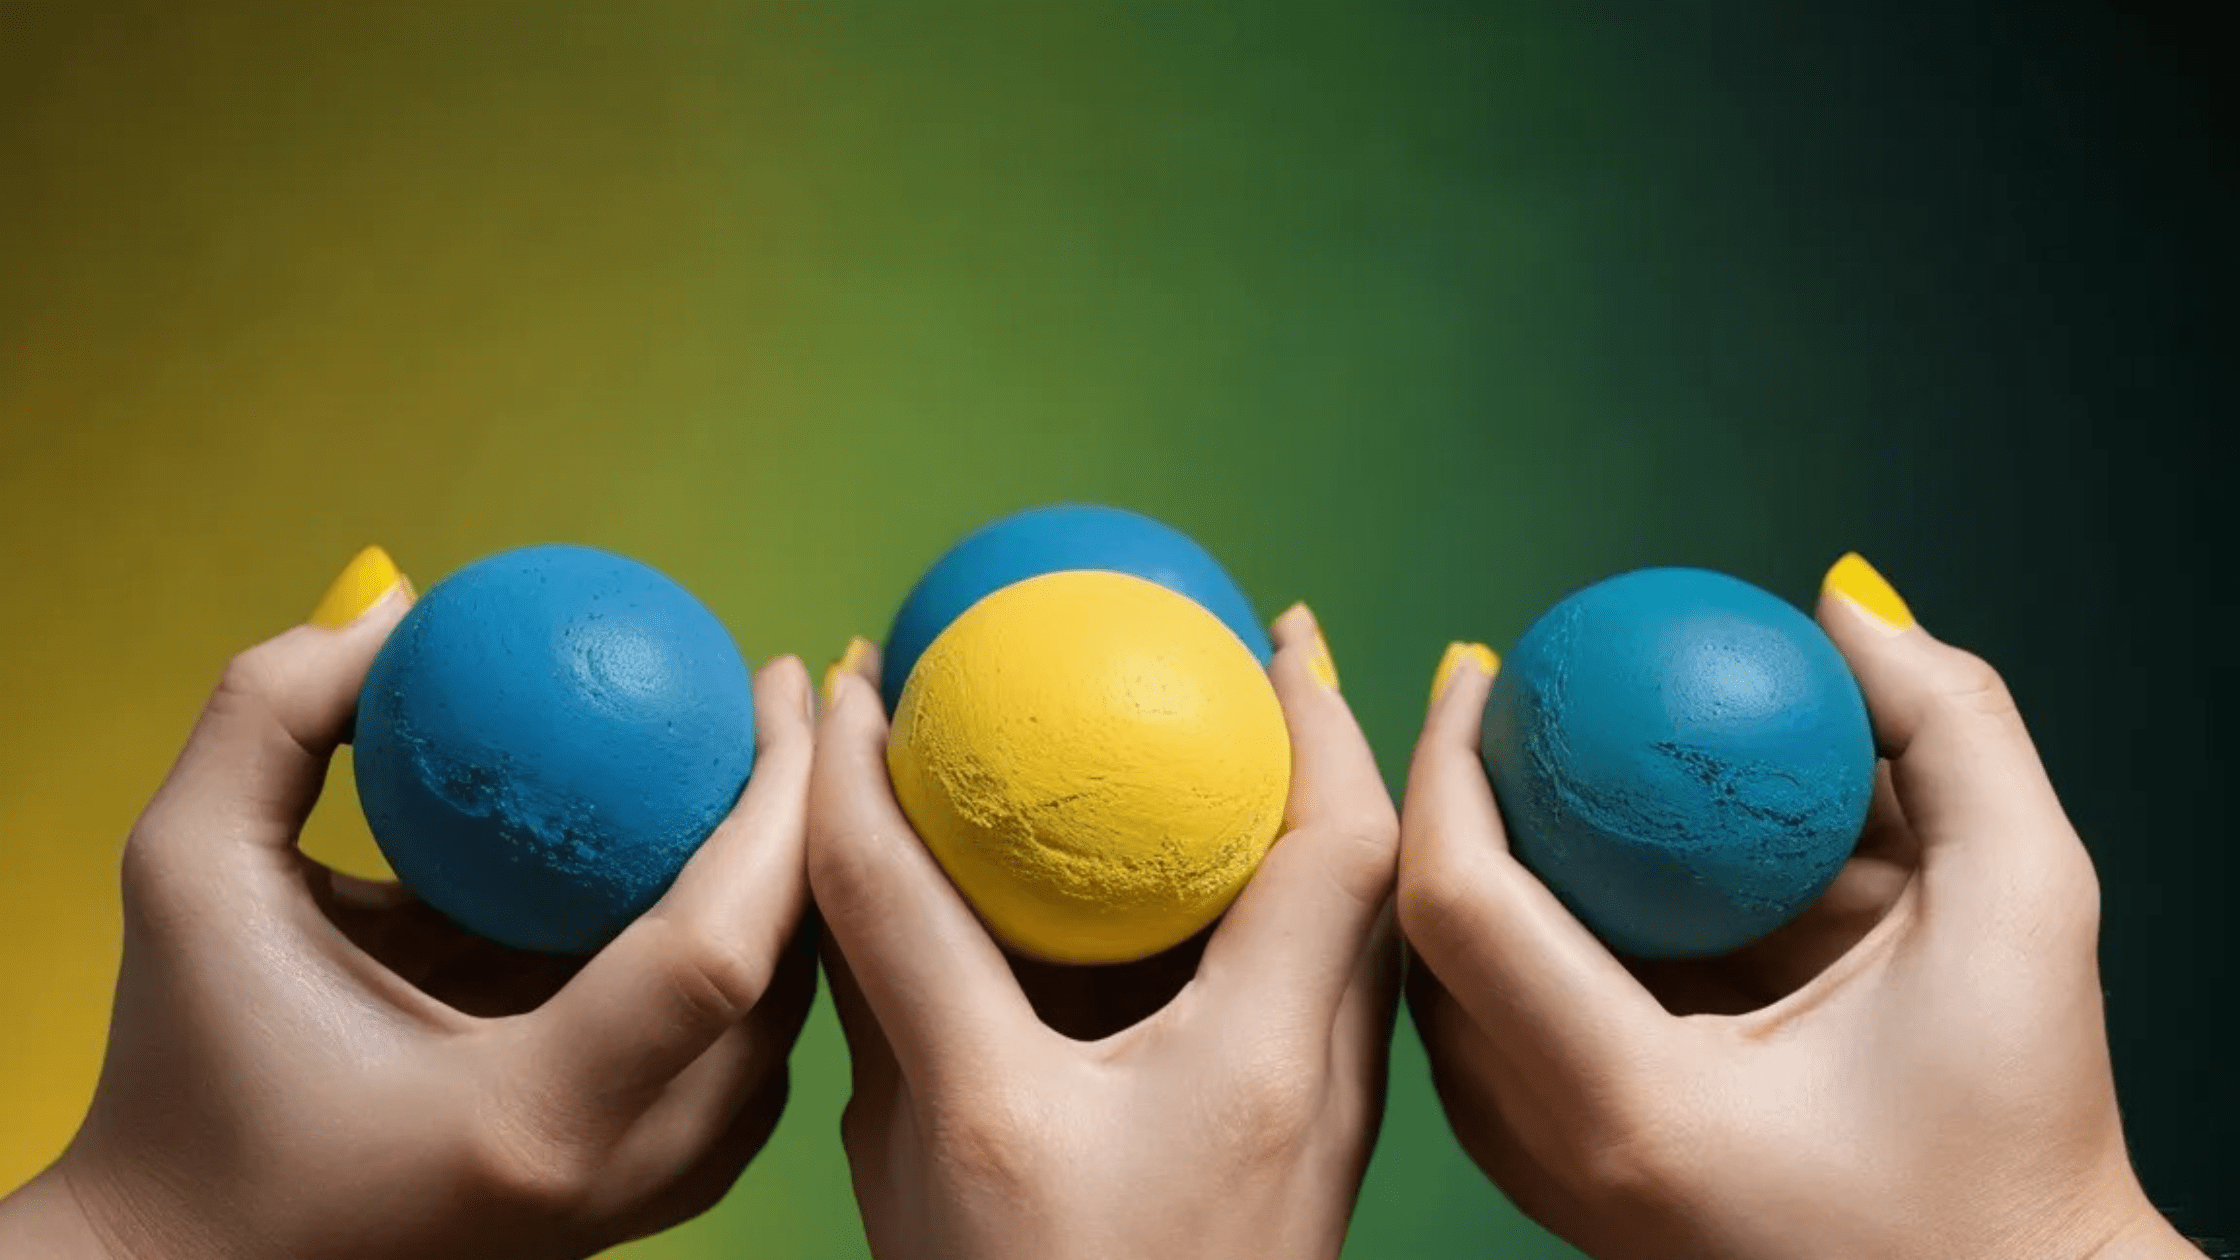
3. Test it Out in Small Quantities First
Start-small bring a little clay to play with This is a great way to see how colors mix and blend with one another without wasting your materials.
- Take a small amount of each color that you are going to mix.
- Mix them together by hand.
“It really is worth experimenting a little, you’d be surprised at the delightful result.” *
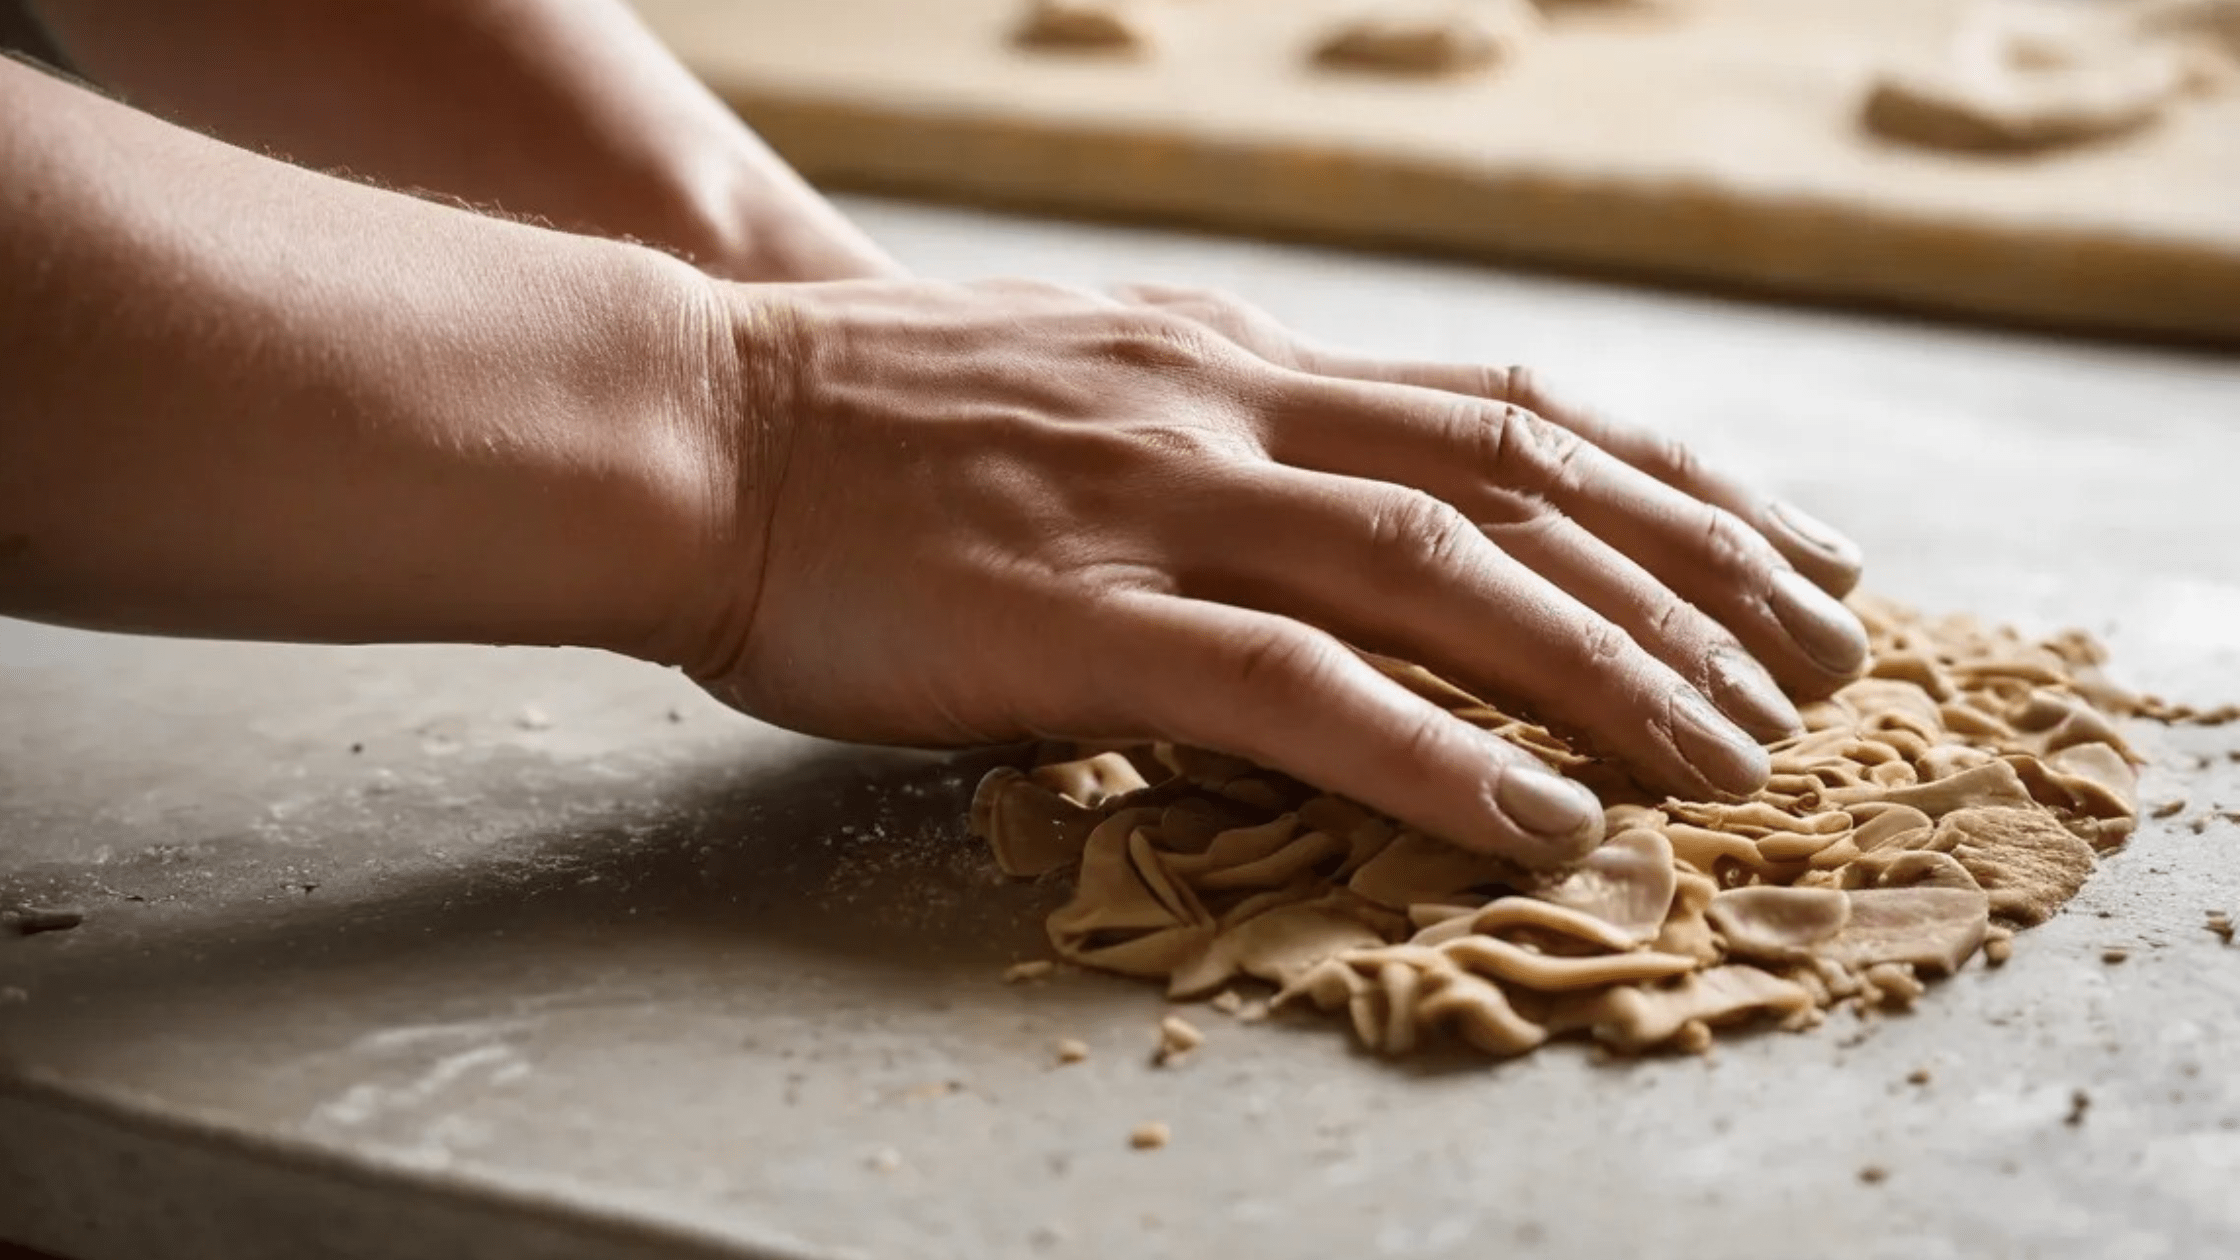
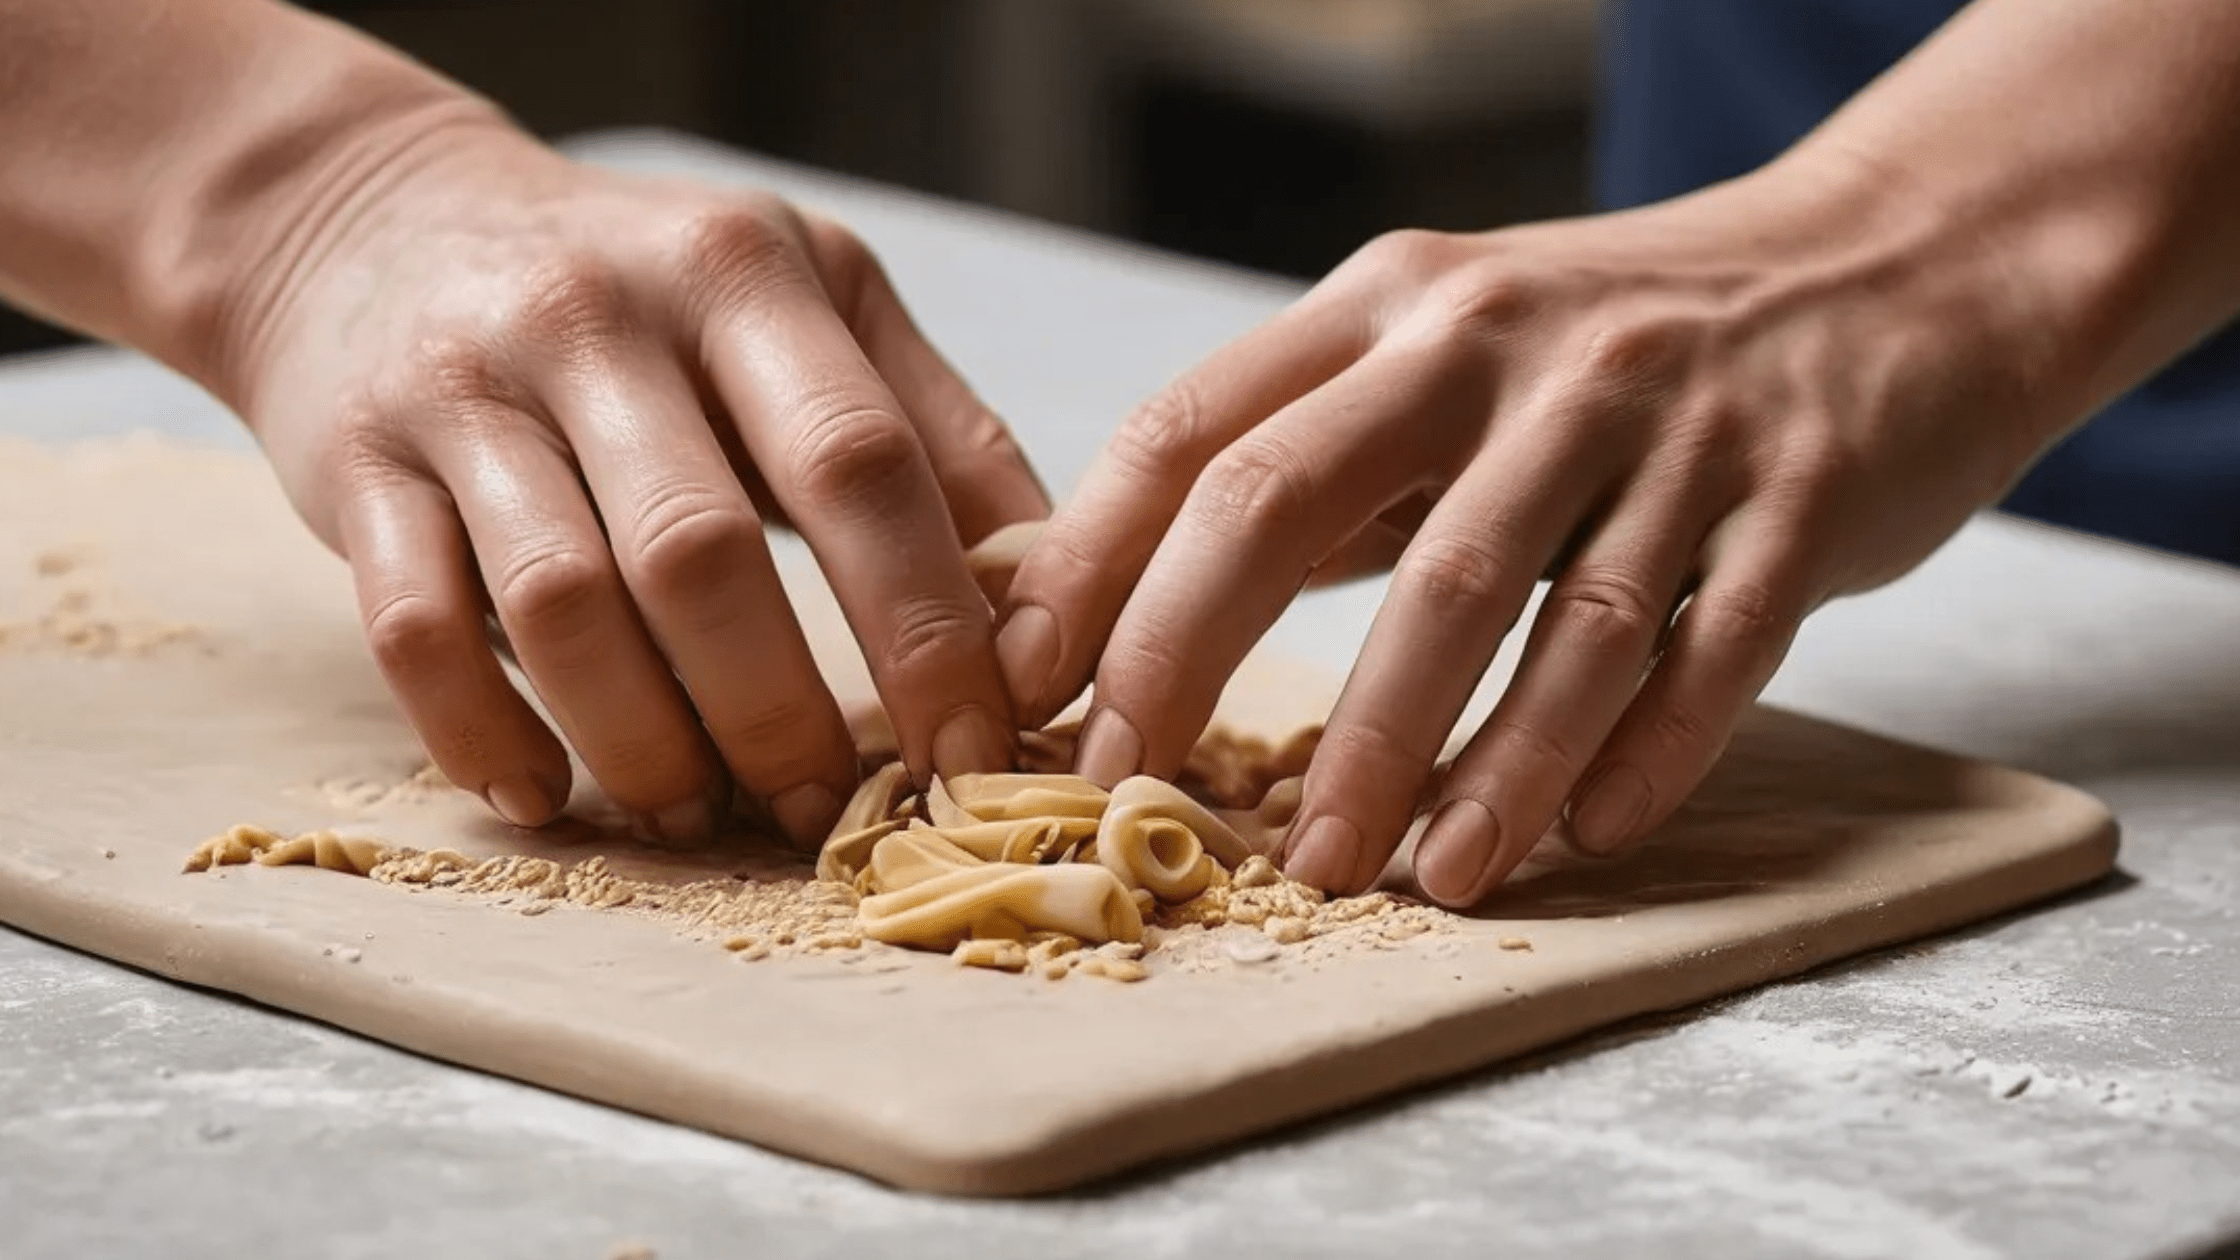
4. Condition Your Clay
A properly conditioned surface is the most important step along with evenly blended colors. Work the clay until soft and pliable:
- Mold it by hand or insert into a pasta machine for an equal consistency.
- It can help to warm the clay a bit with your hands.
Why Conditioning Matters
Shaking/Conditioning maintains a consistent texture throughout the paint to allow for more even distribution of the color.
5. Use a Color Formula or Recipe
Formulate your own specific “recipe” for your own mix This helps maintain organization and enables accurate replication of the process in future projects.
- Keep a record of the ratios of every color (2 parts blue, 1 part yellow, etc.).
- Keep a journal or digital document with references to these formulas so you can revisit at any time.
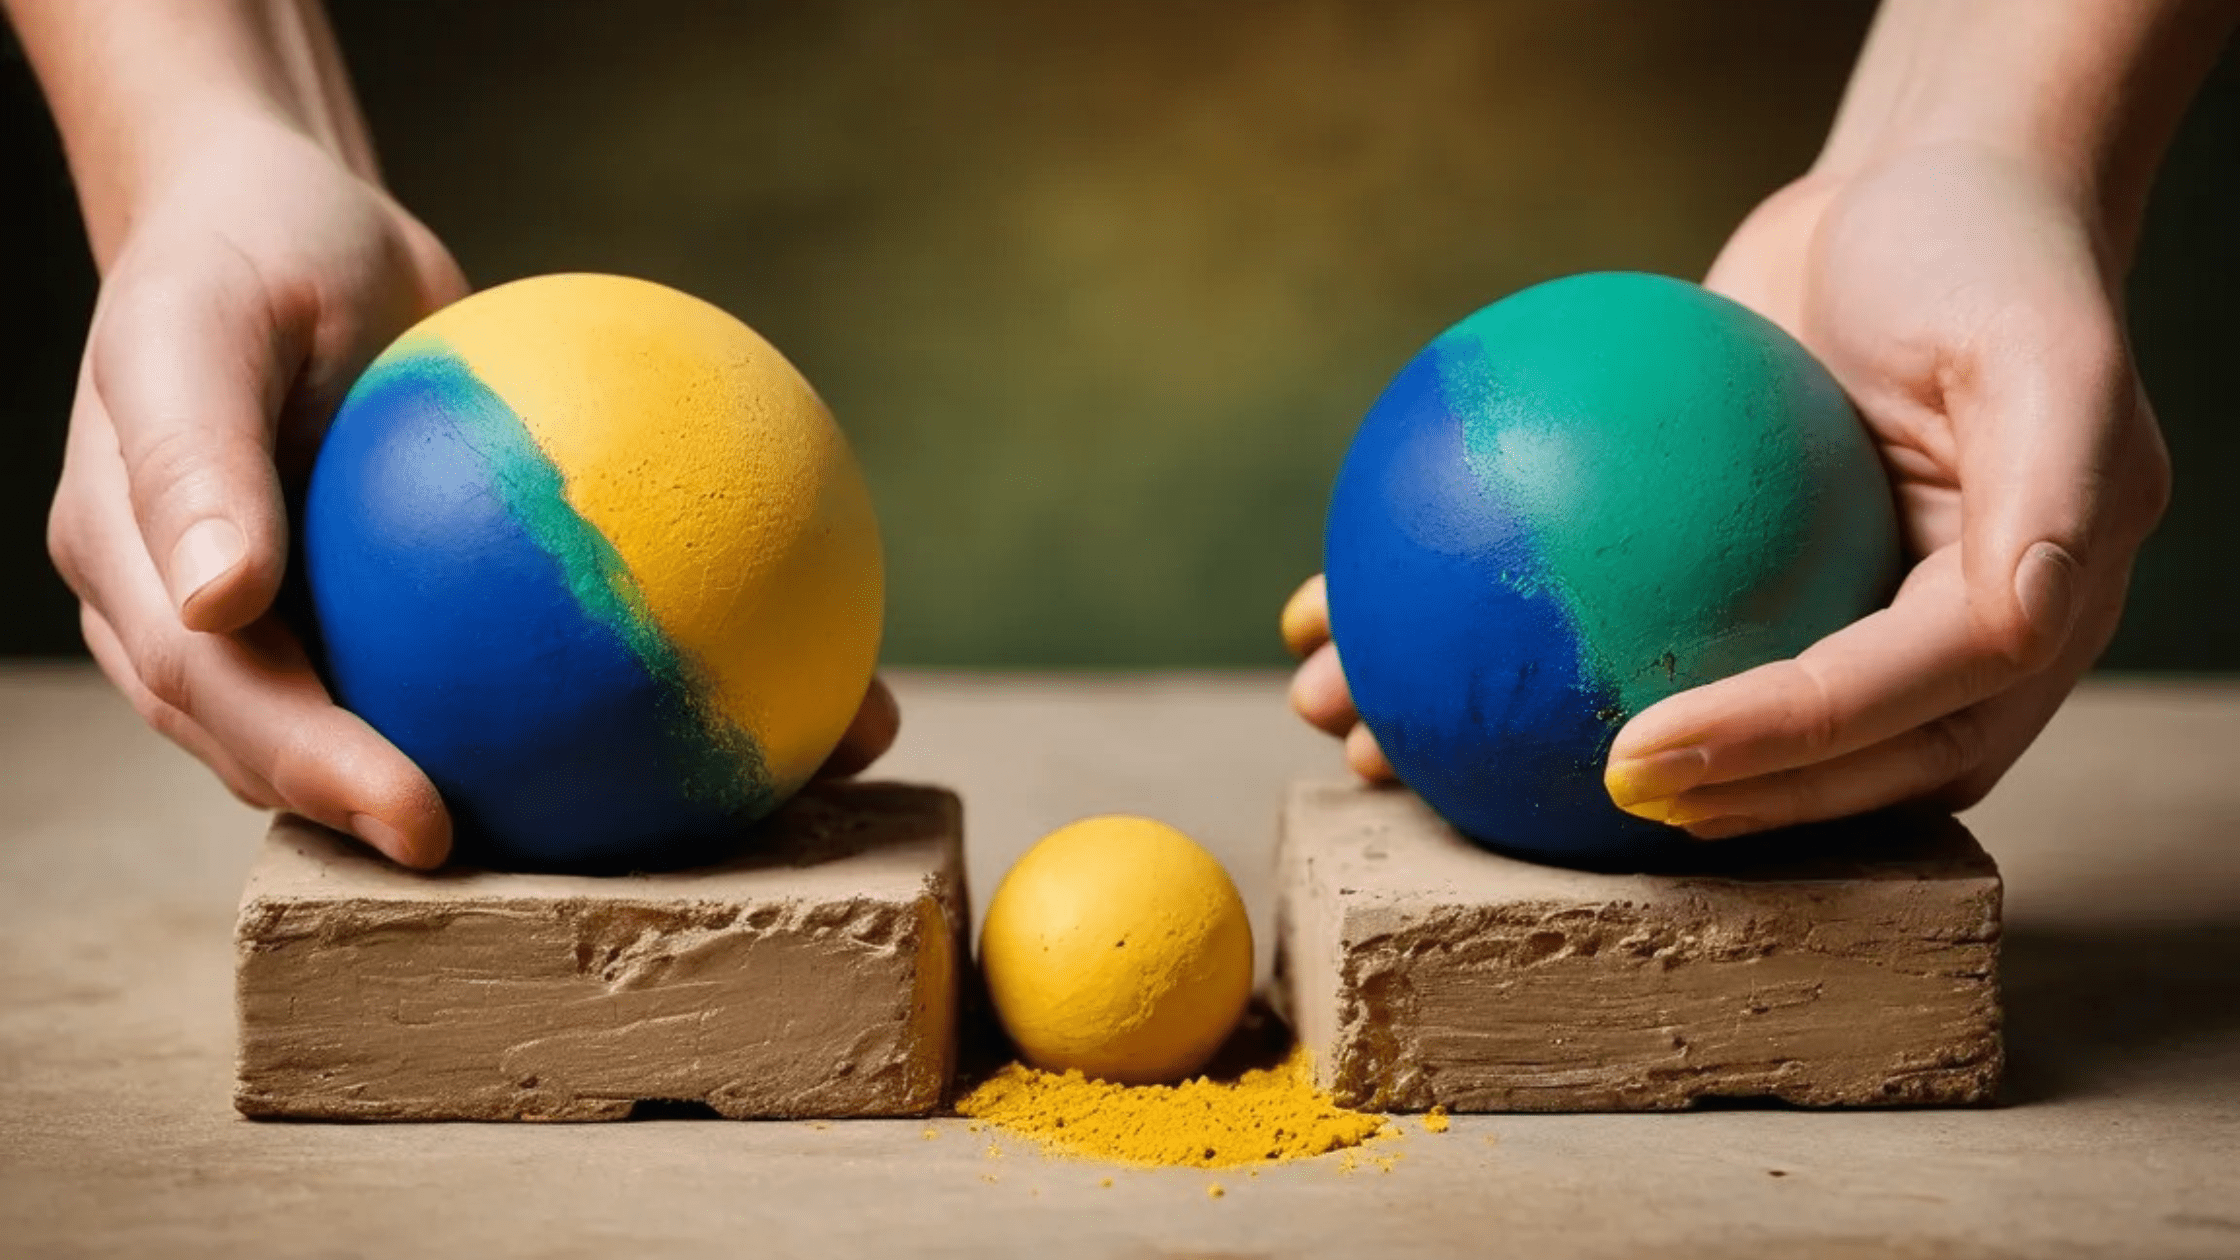
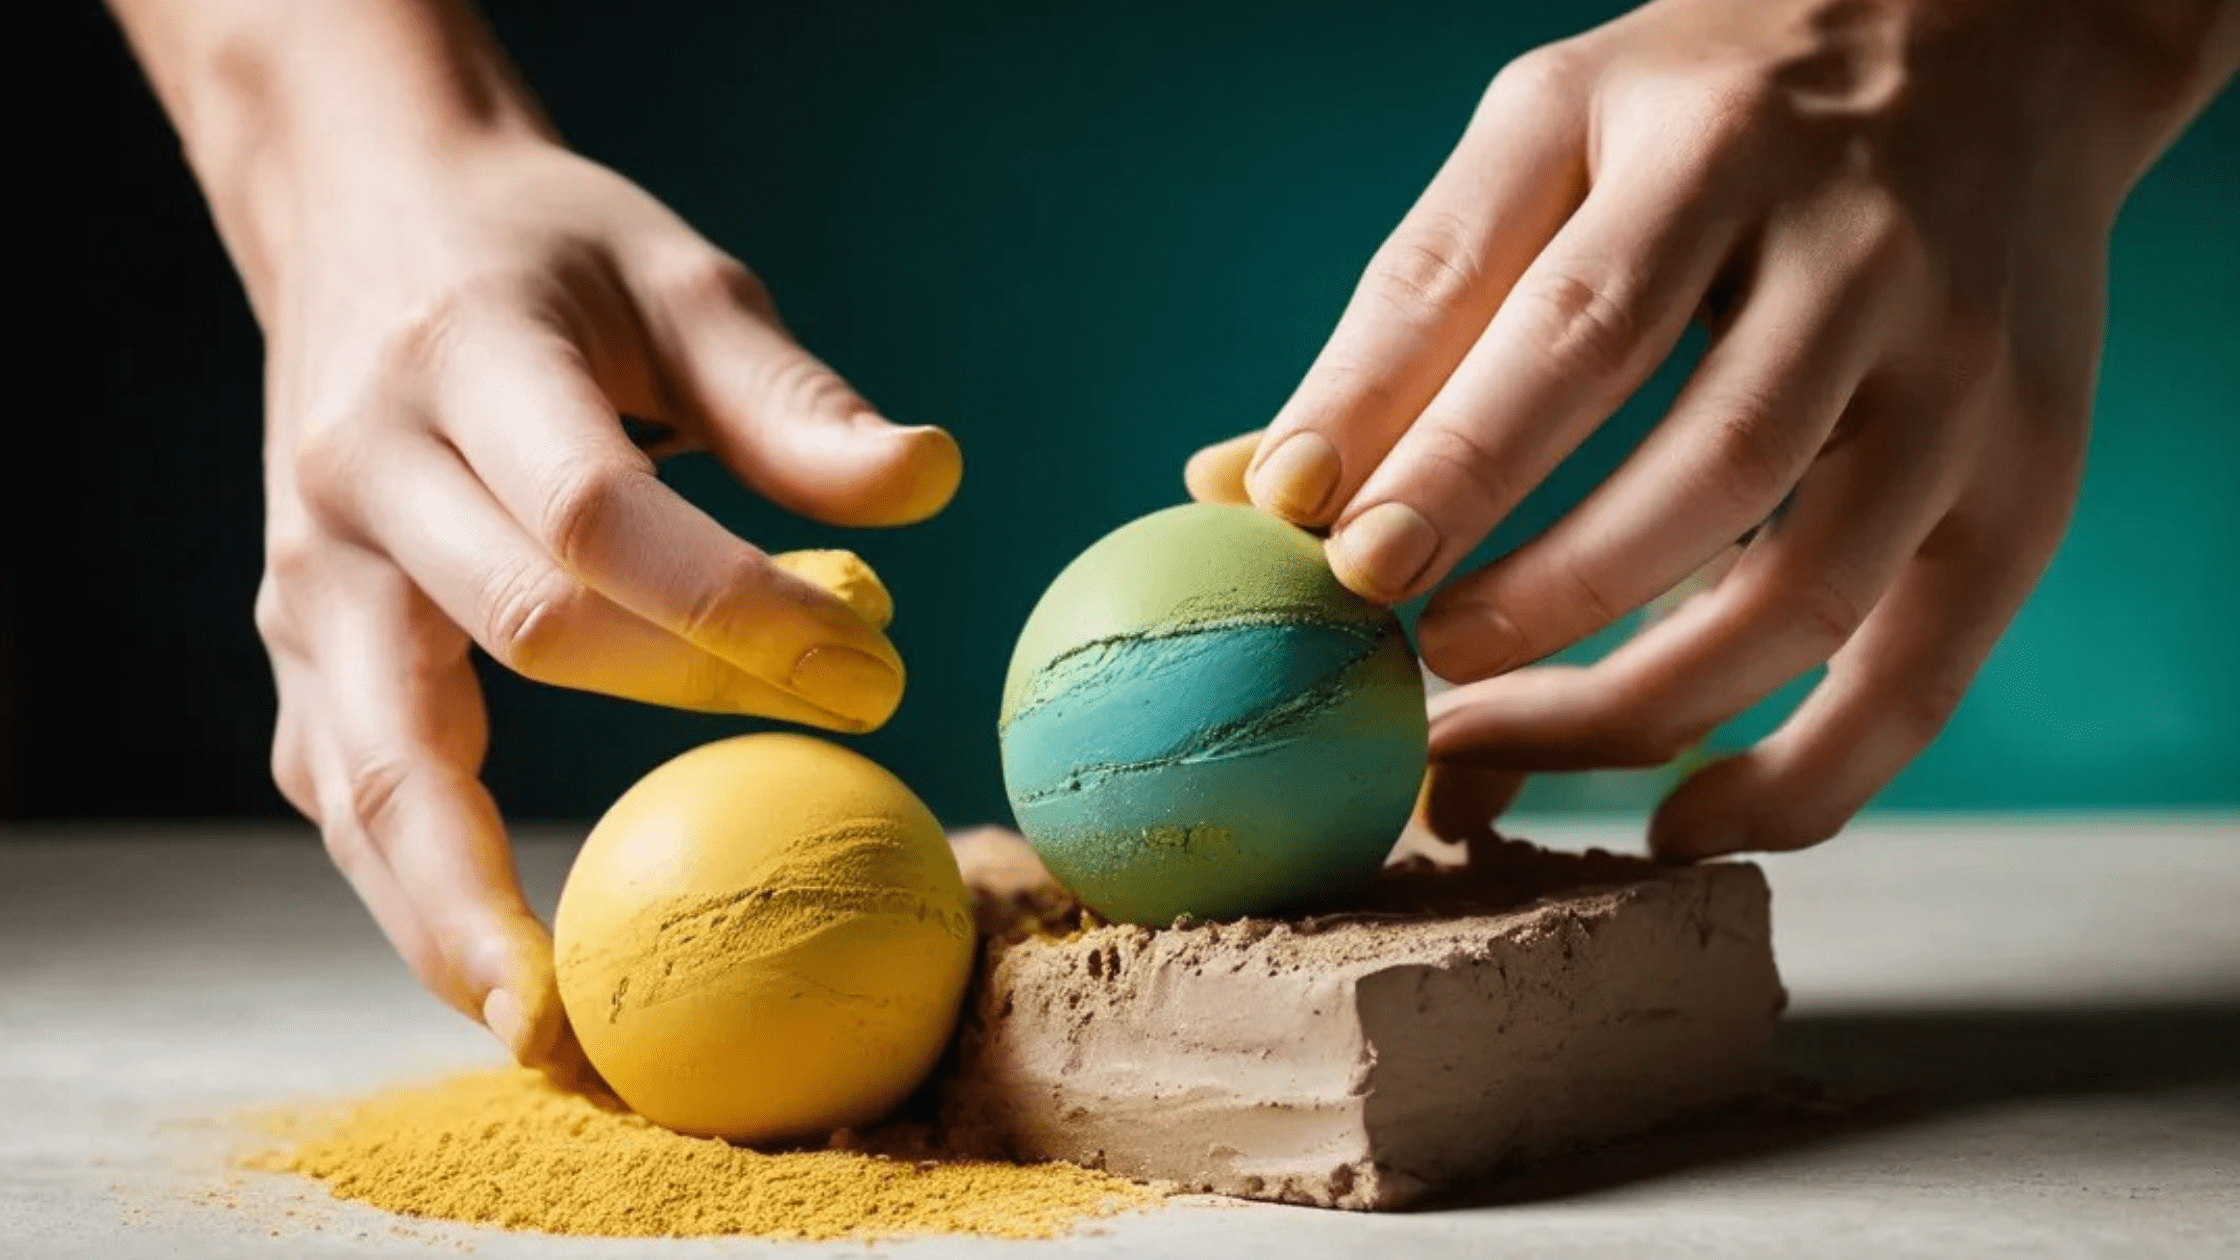
6. Blend Colors Gradually
Also gradually add colors little by little rather than all at once; secondary shades will differ especially based on how pigments meld. Such an incremental approach will allow you to have greater control to achieve the truest hue, which is:
- Work your way up from the lighter colour.
- Work in small amounts of the darker color.
- Between each one, knead thoroughly.
FOR THE EXPERT: SHADING AND TINTING
Add in white or black clay gradually (repeating the steps to create lighter tints or darker shades) and alter as needed. Again, do this incrementally to find your sweet spot.
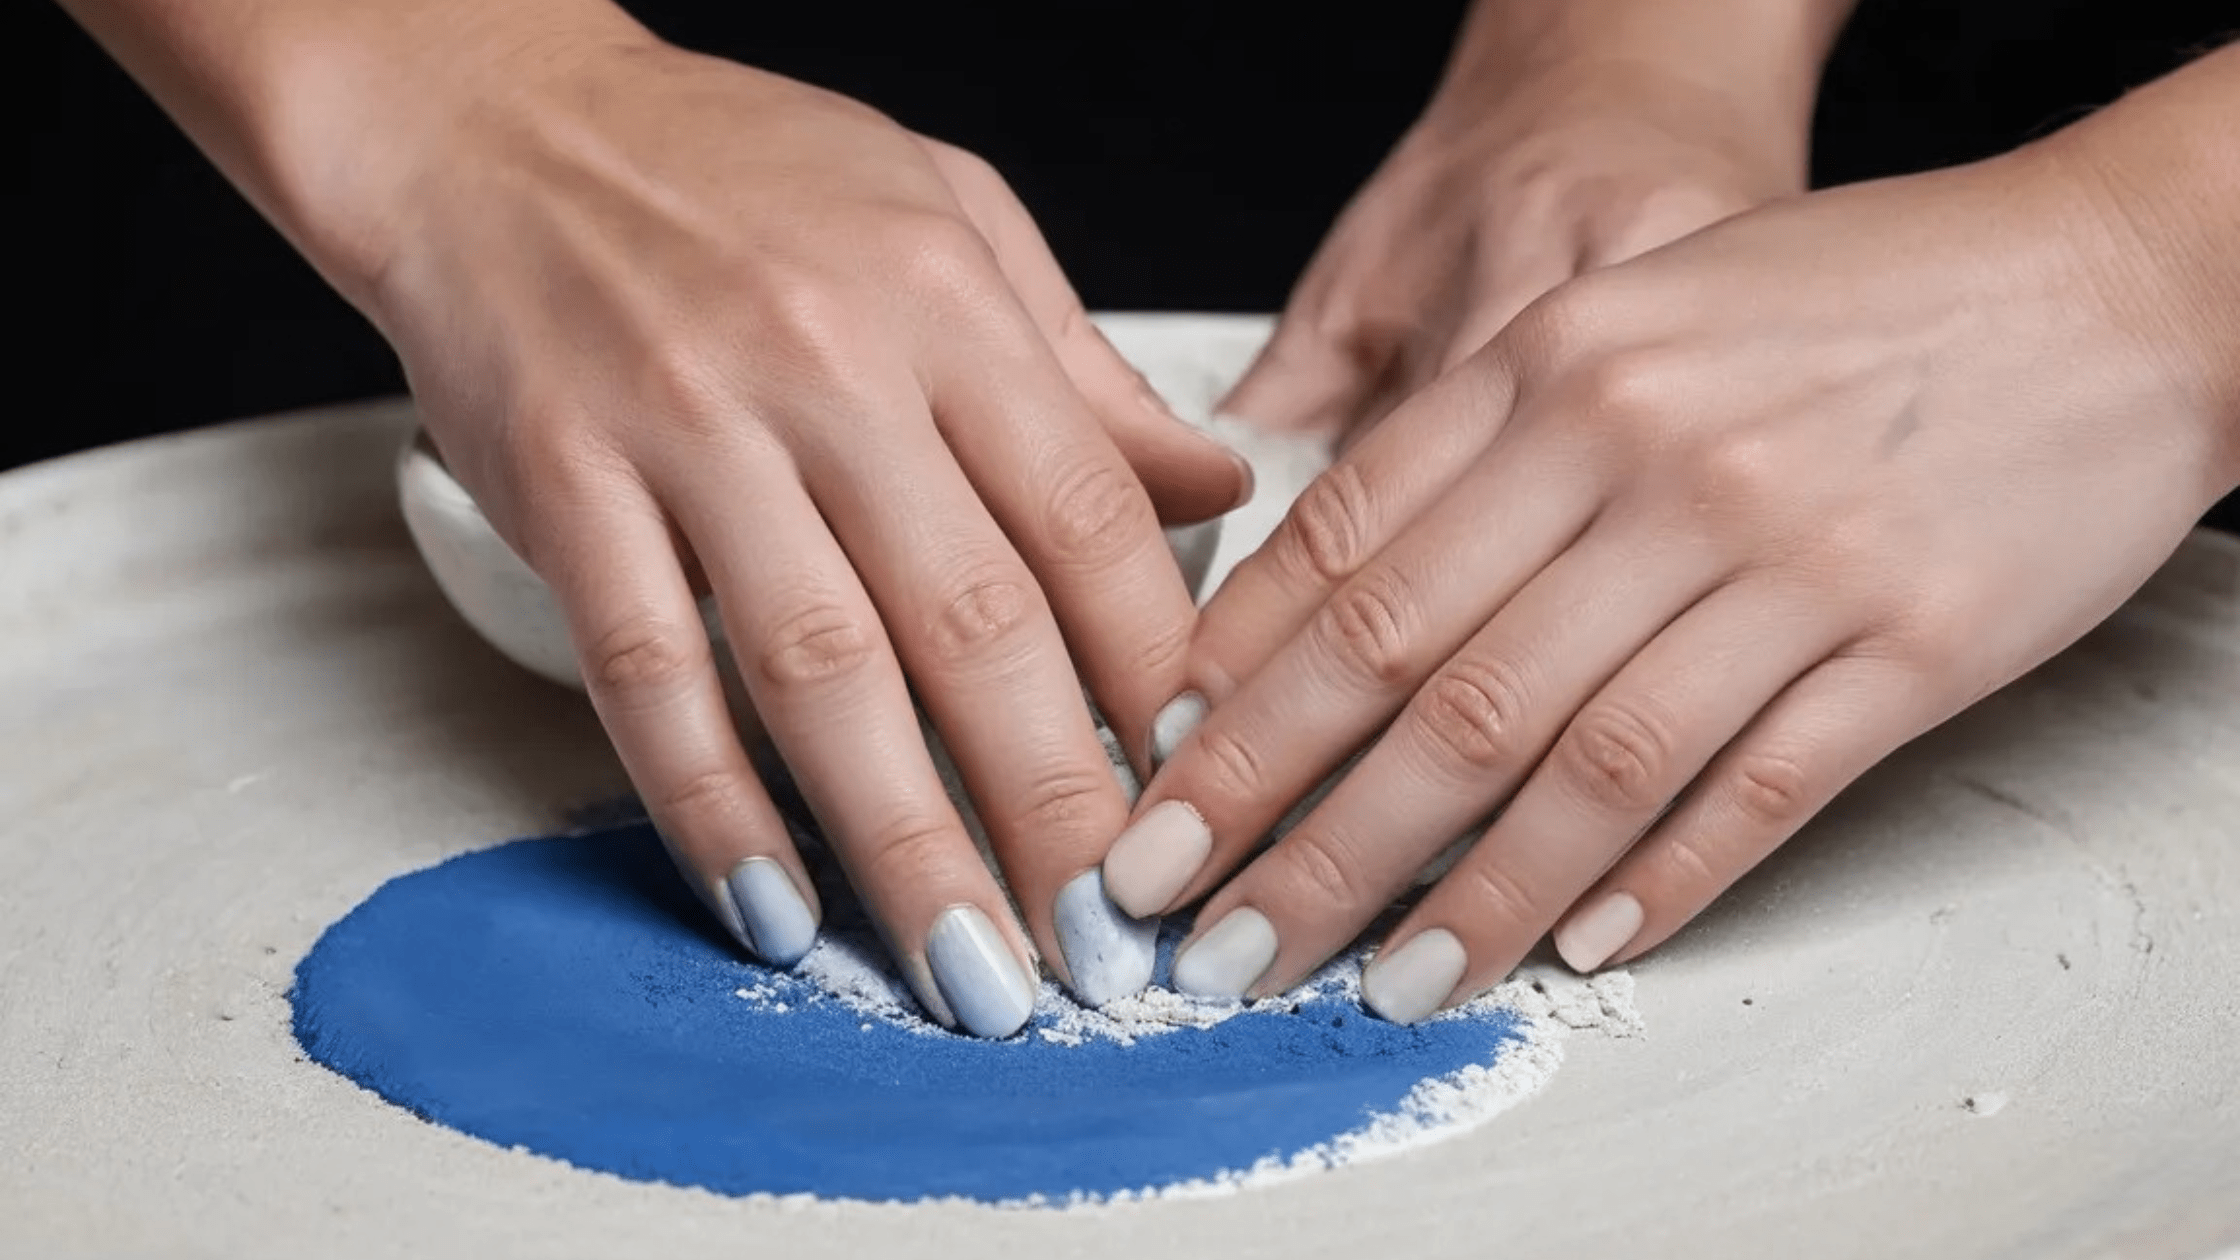

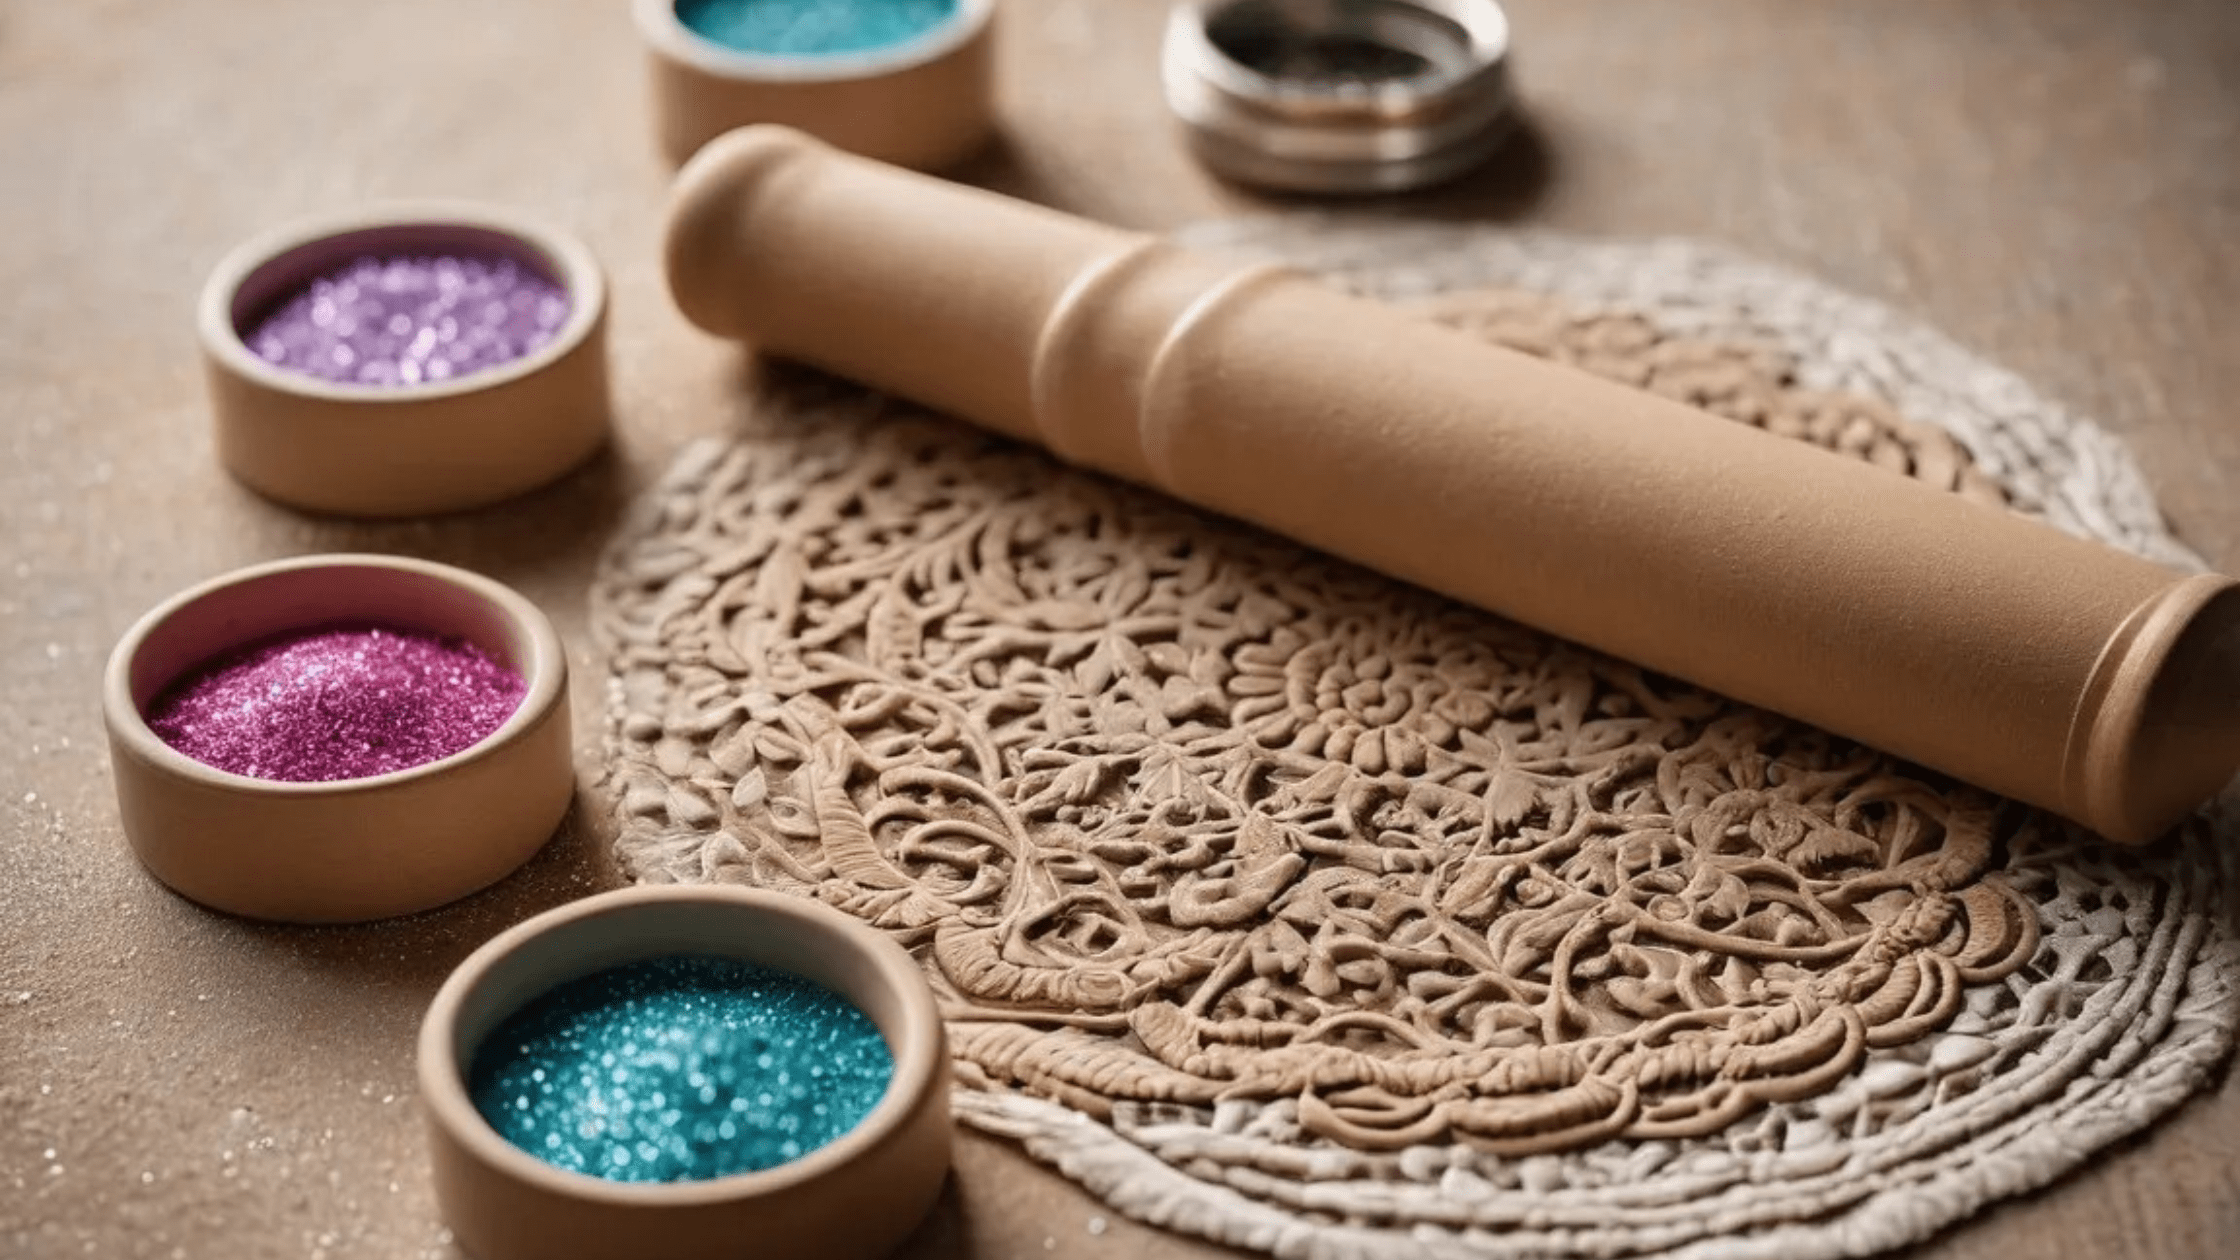
7. Incorporate Textures Wisely
So do you also want to put a unique spin to your clay arts? Think about adding some textures. But do it carefully so the color blend does not seem like a splash:
- Optional: Add sand, glitter, etc. sparingly.
- Test small samples to find what works best.
*“Textures can lift your work one or two levels, but they should complement, not conceal, the color. *
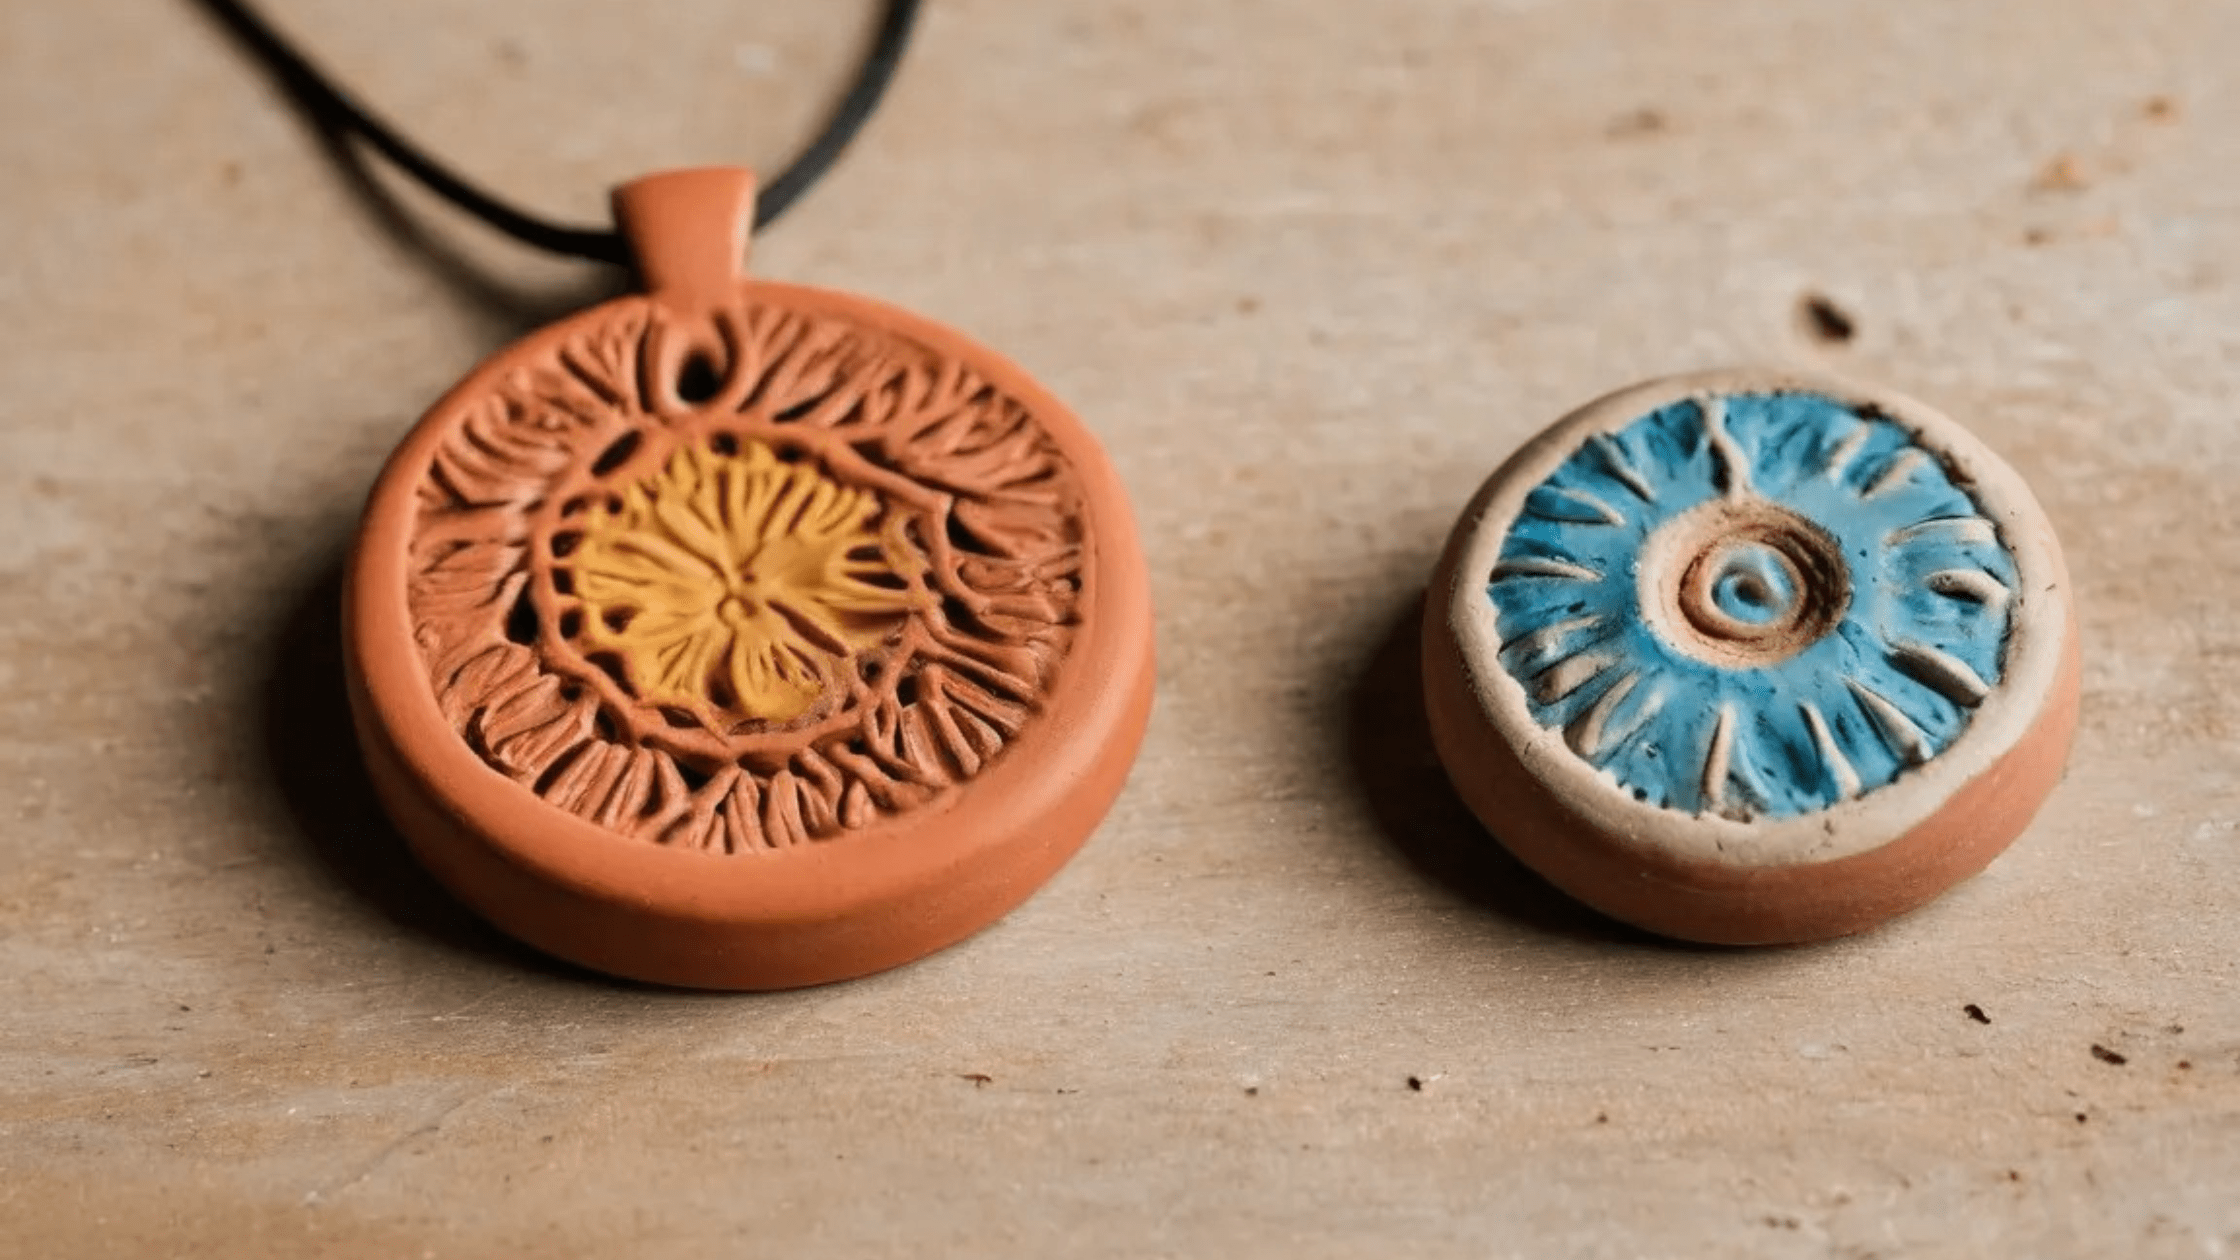
8. Test Your Clay Mix
If using polymer clay or air-dry clay, test a small sample of your mixed color, create a piece, and allow to harden or dry before proceeding. Ensuring that you show the final cure color, which could be slightly different than its raw state.
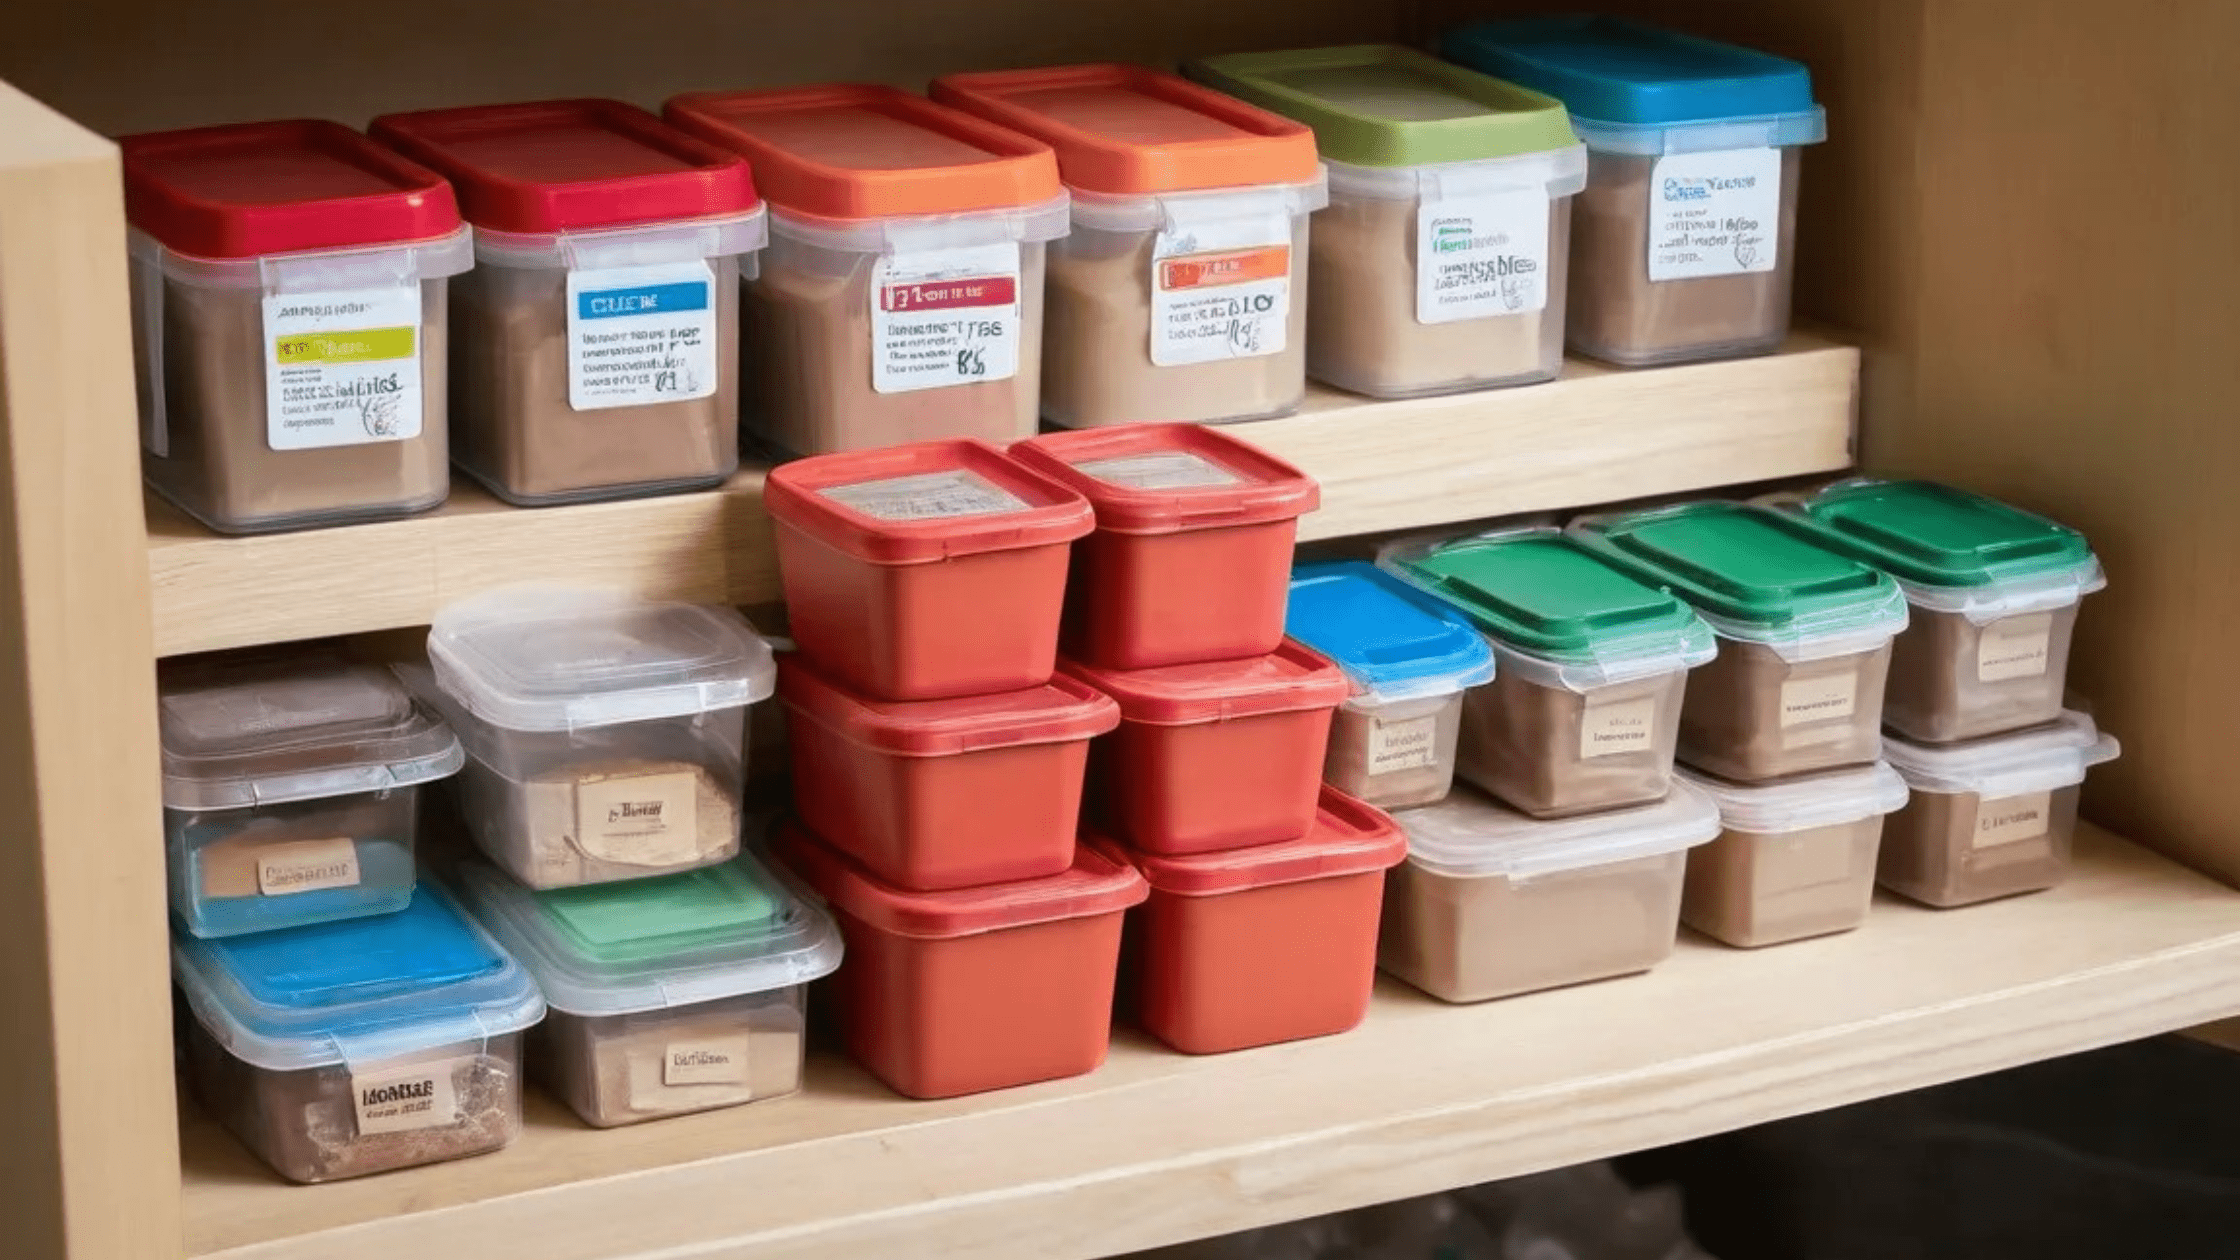
9. How To Properly Store Mixed Excess Clay
Storing clay correctly will keep leftovers fresh and moist:
- Store foods in airtight containers or resealable bags.
- Keep in a cool, dry place out of direct sunlight.

10. Keep Learning and Experimenting
Color mixing is an ever-new art. Keep trying new combinations and techniques to hone your skills. So follow communities or attend workshops where you can connect and learn from others’ experiences.

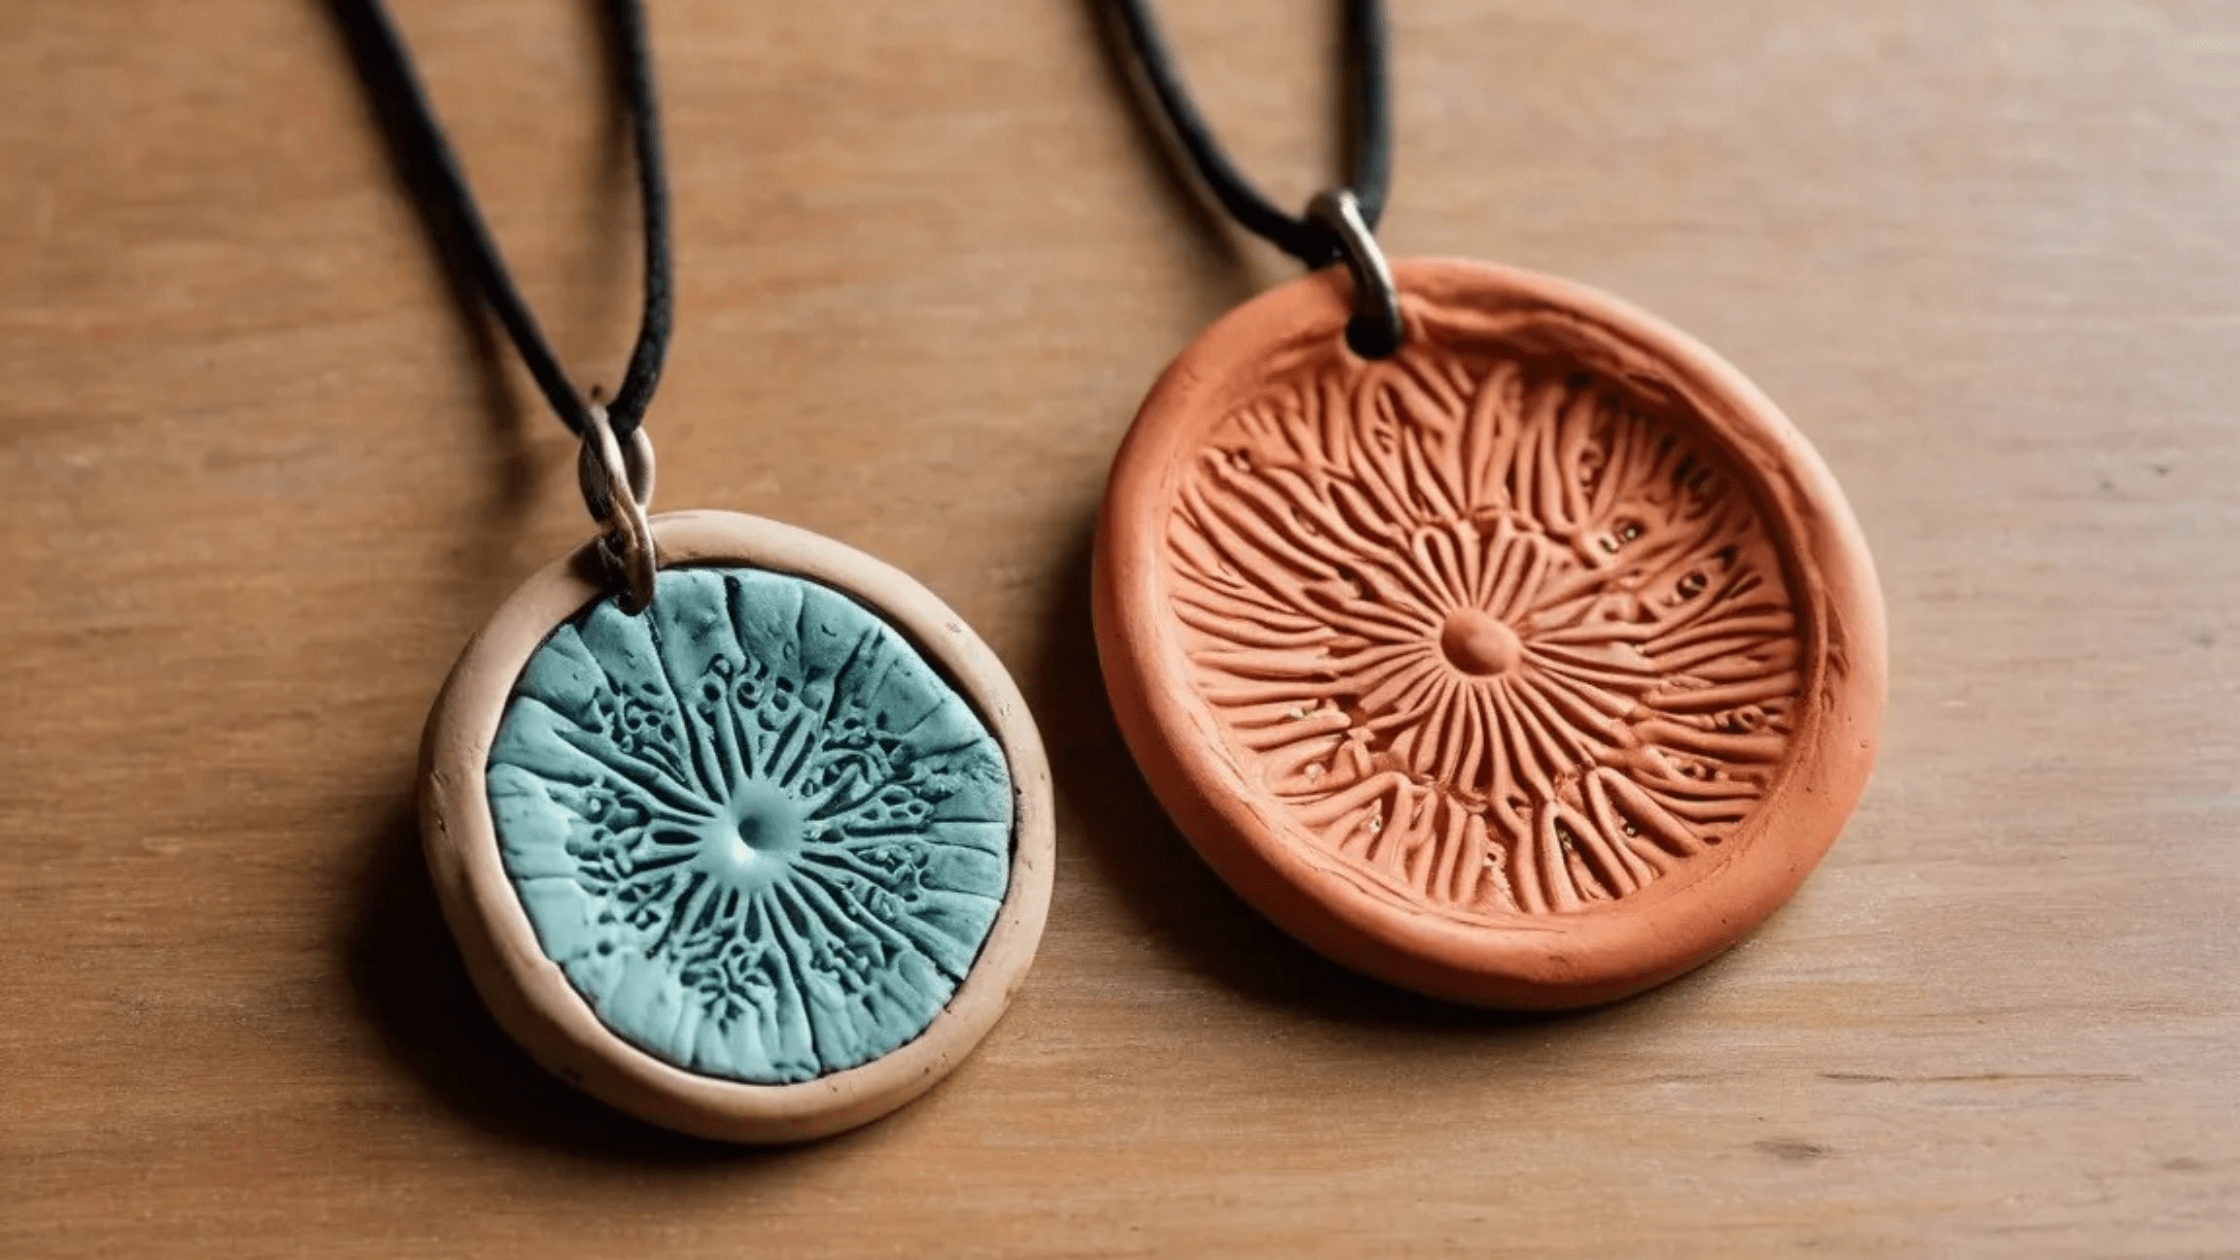
Conclusion
Combining colors of clay is safer than it appears at first, I find, and opens up infinite possibilities. Following these steps, you will be able to blend colors of clay and it will open new doors for your creative projects. So, collect your materials, dust off your creative muscle, and get a-mixing clay colors with confidence and panache. Always keep in mind that the secret ingredients to perfection are practice and persistence, so keep doing trials!
*Want to know how color theory works or conditioning techniques? 4 Insights from Specialized Art Forums and Websites *
Shop Now
**Stay updated with our latest creations and special offers by following us on our social media pages!**